O
O
O
I
I
I
D
D
U
U
U
U
T
T
S
S
S
R
R
R
R
O
O
O
T
T
T
A
A
M
M
M
M
O
O
C
C
C
Hey Customers!
Find anything service you want with our competent creators.
and Unleash Your Dreams with Us!
CUSTOMER
& CREATOR
We are a production studio that has customer satisfaction and more than 5 years of experience. To make this happen requires good communication between customers and creators.
Comator Studio exists as a place where customers and creators can meet to achieve a goal. Find our competent creators according to the project you want with their expertise.
S
E
E
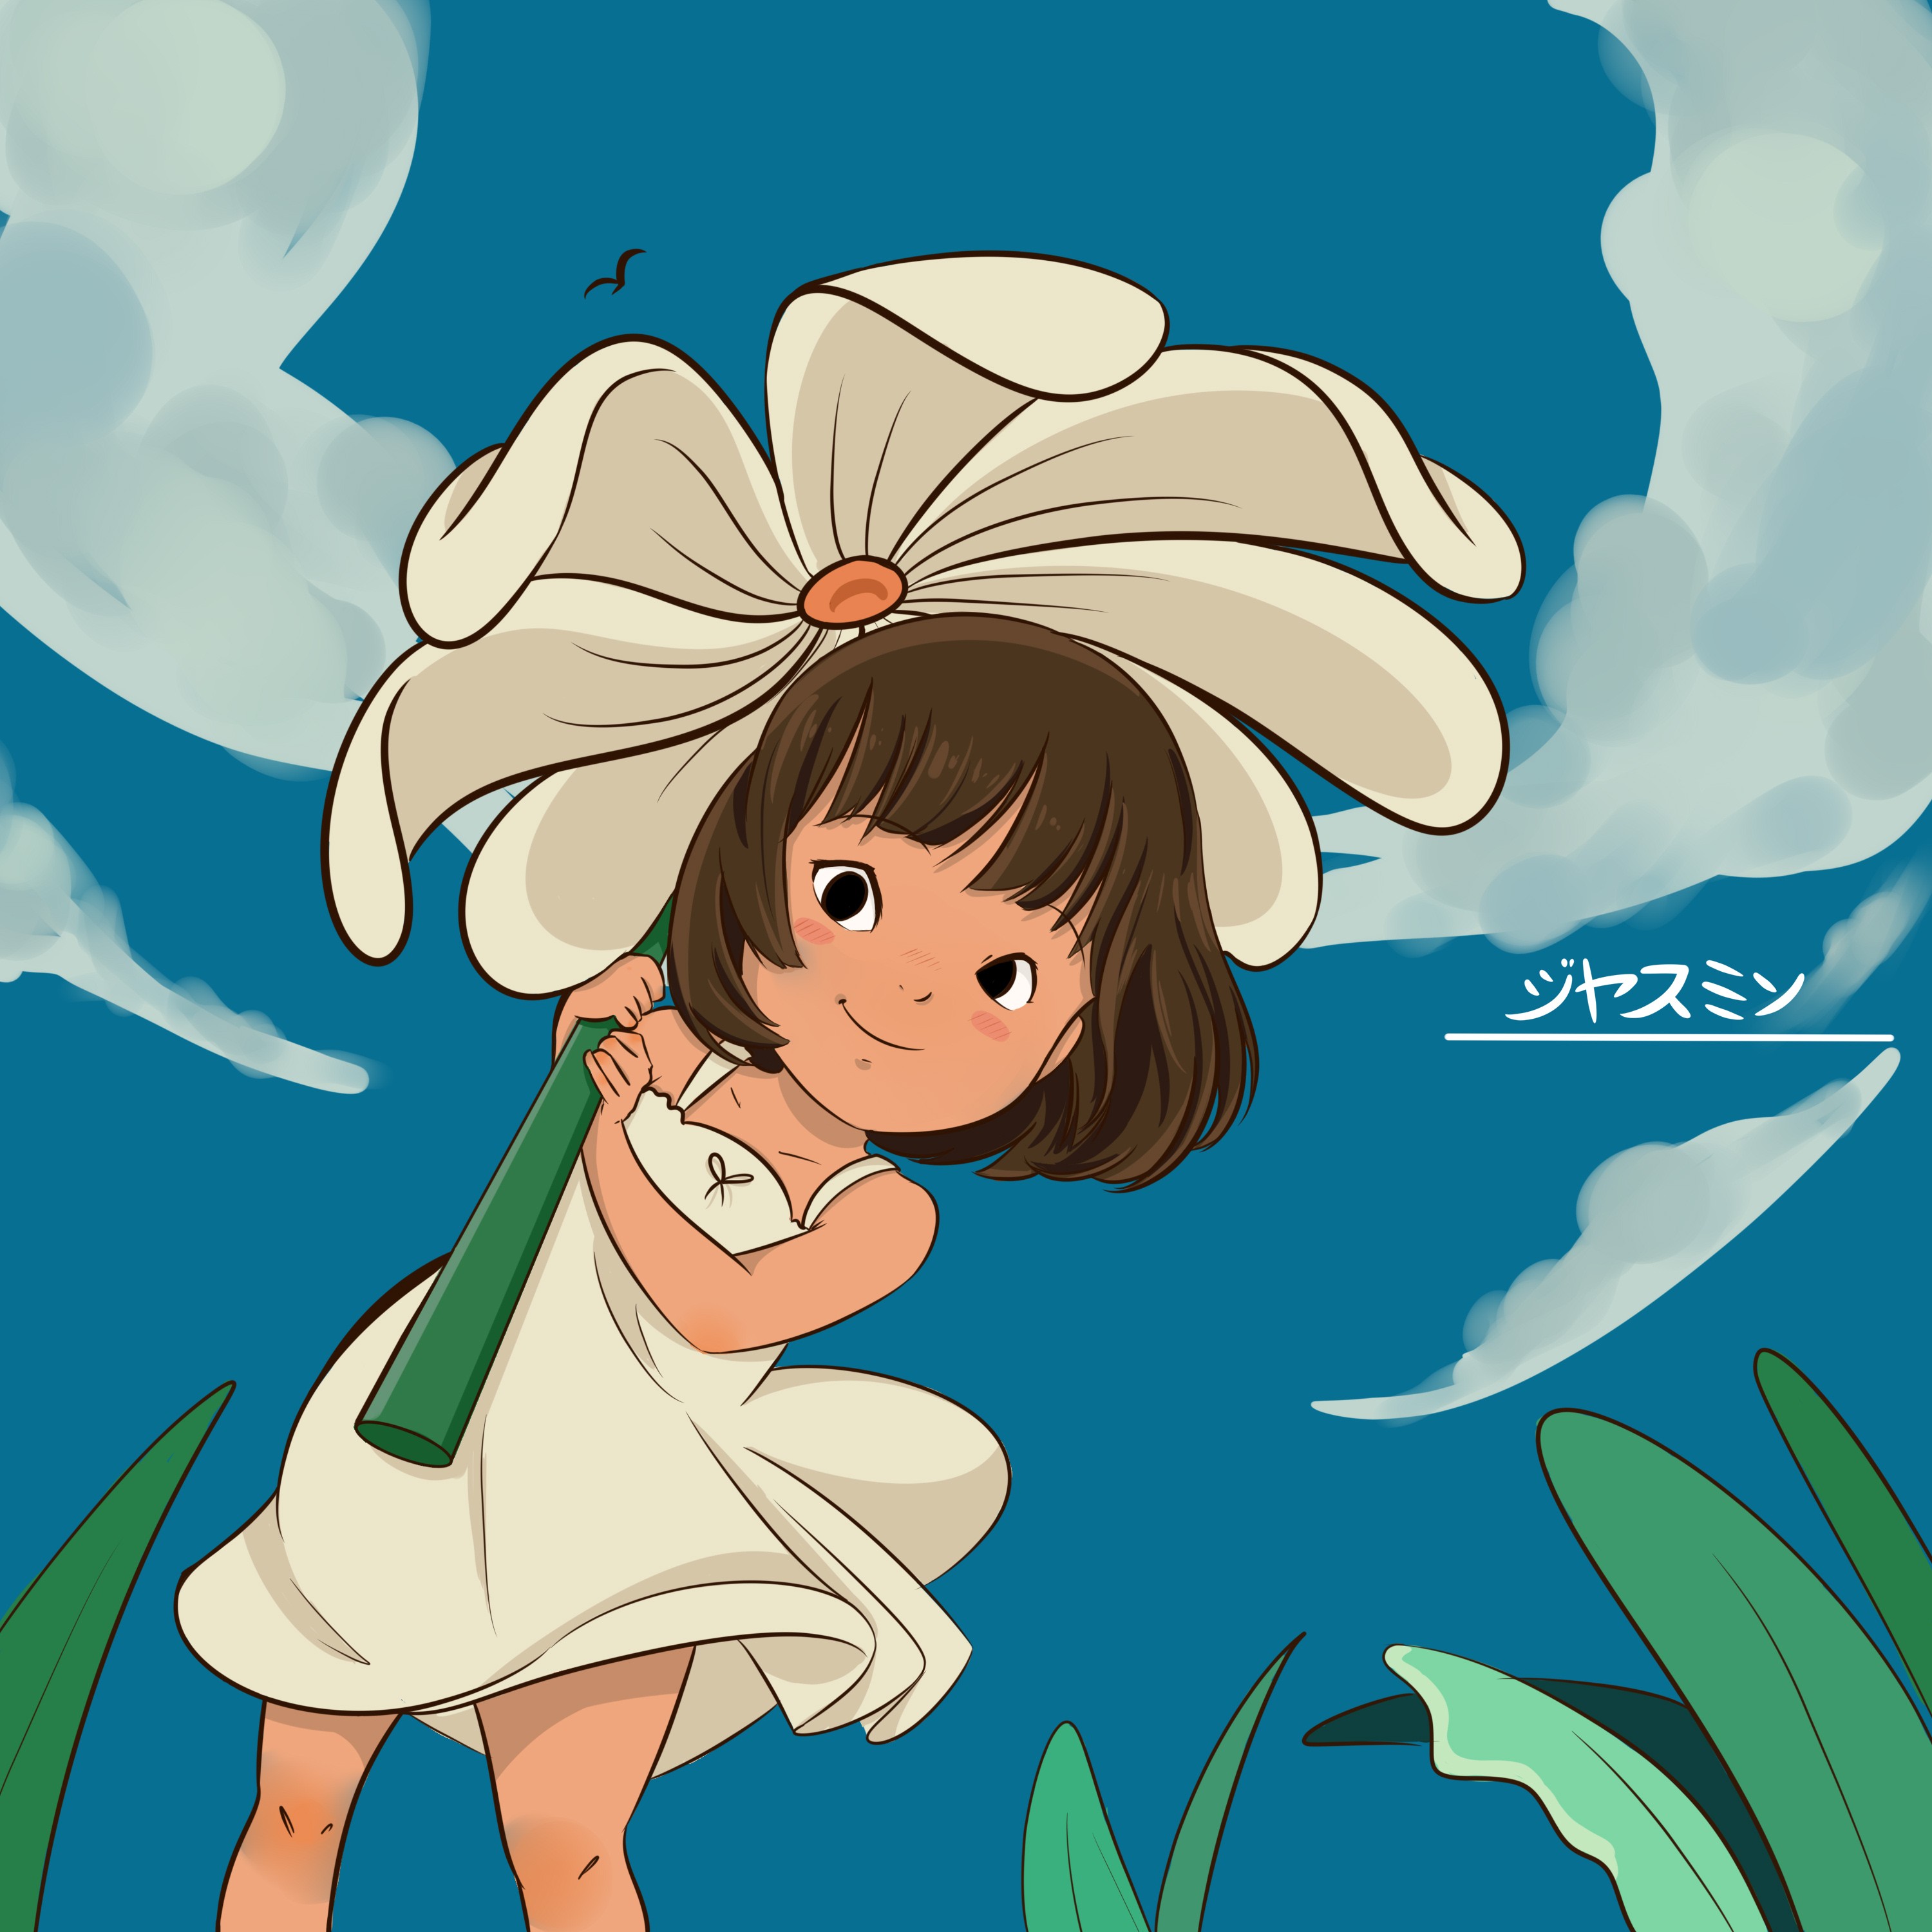
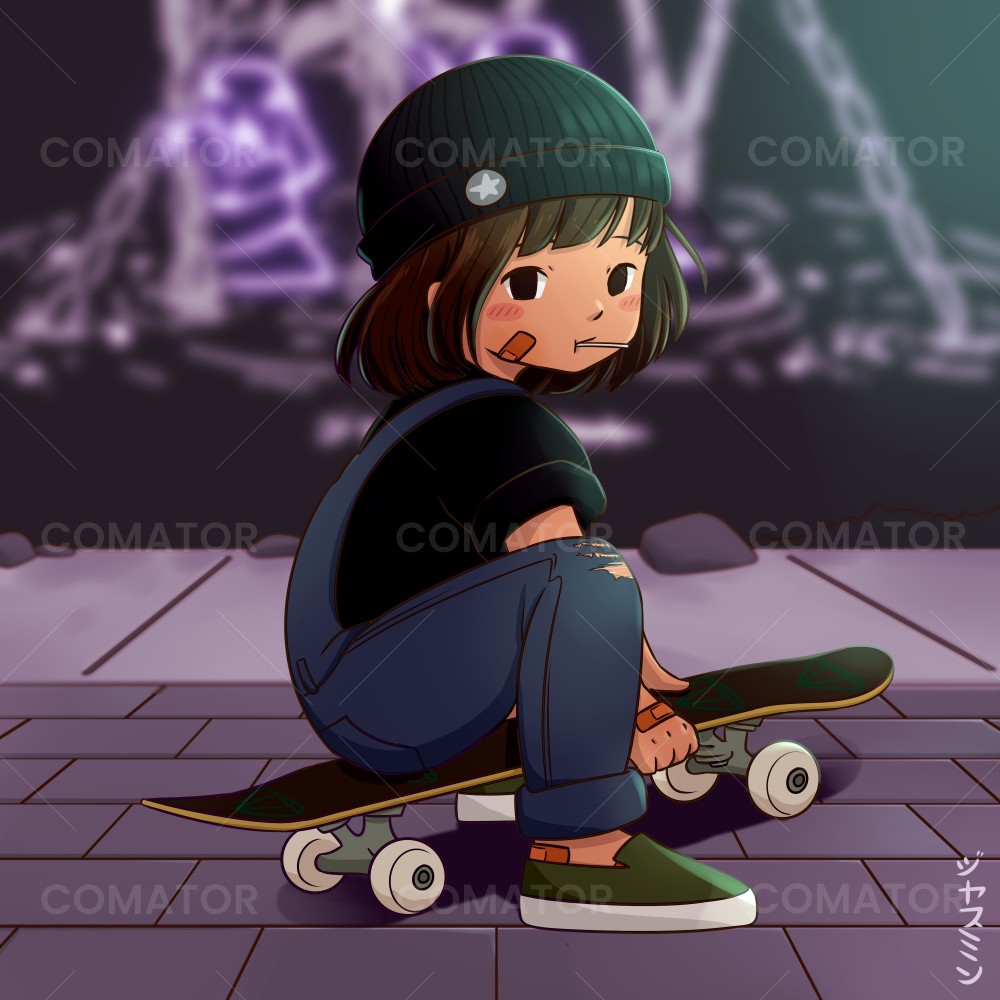
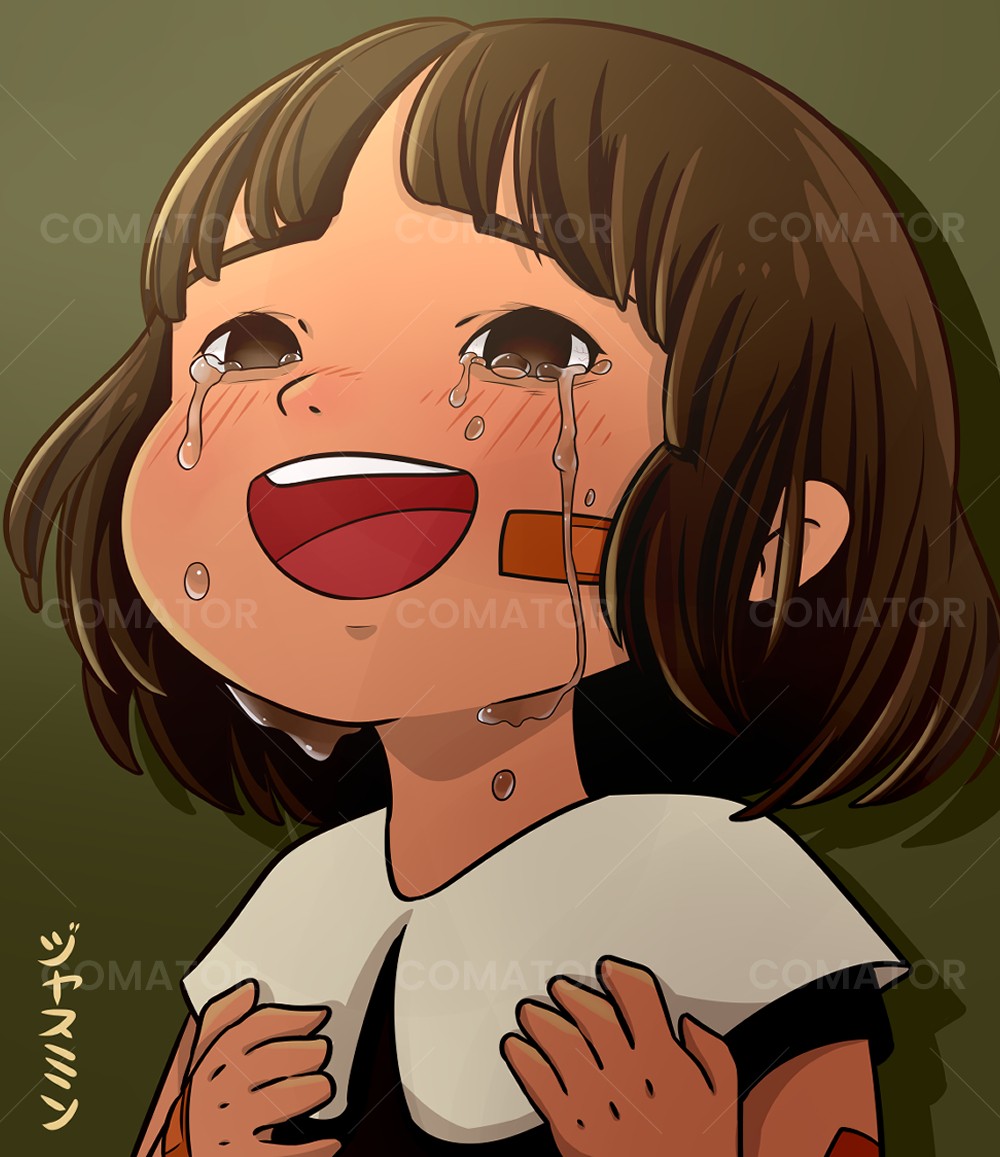
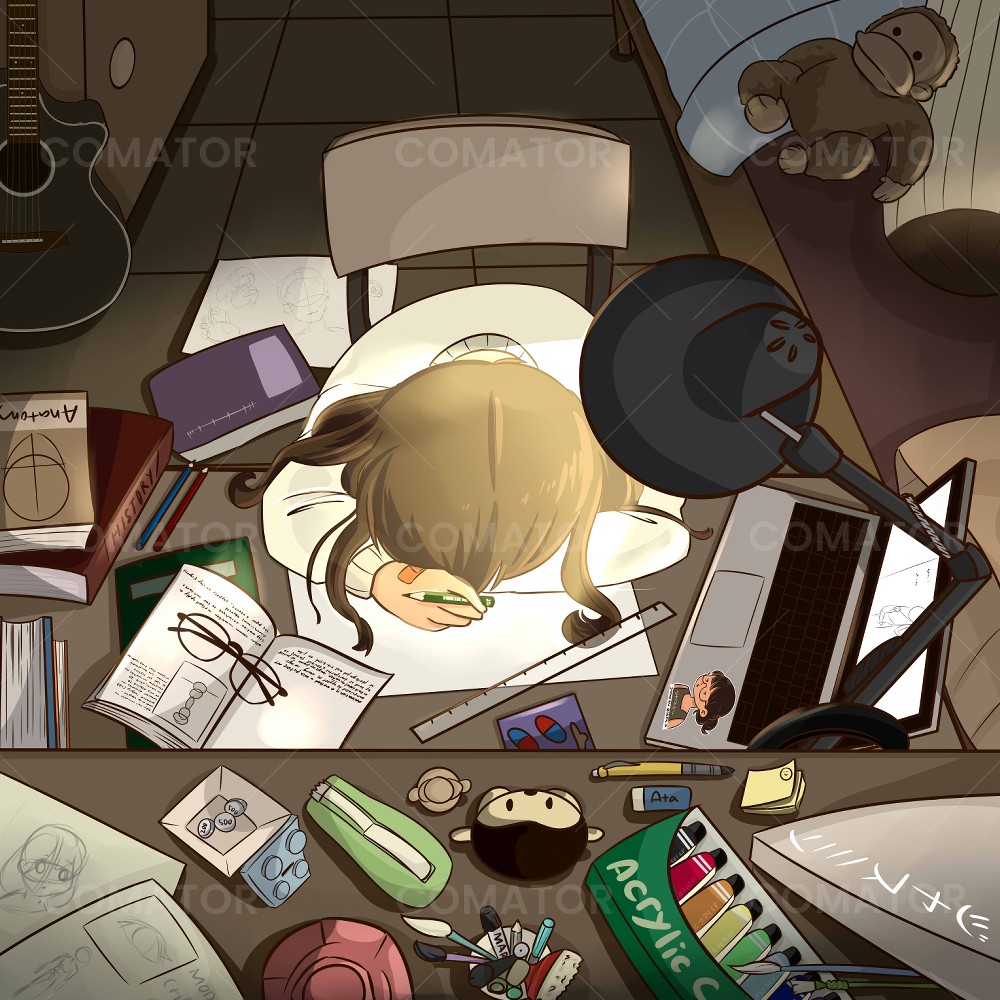
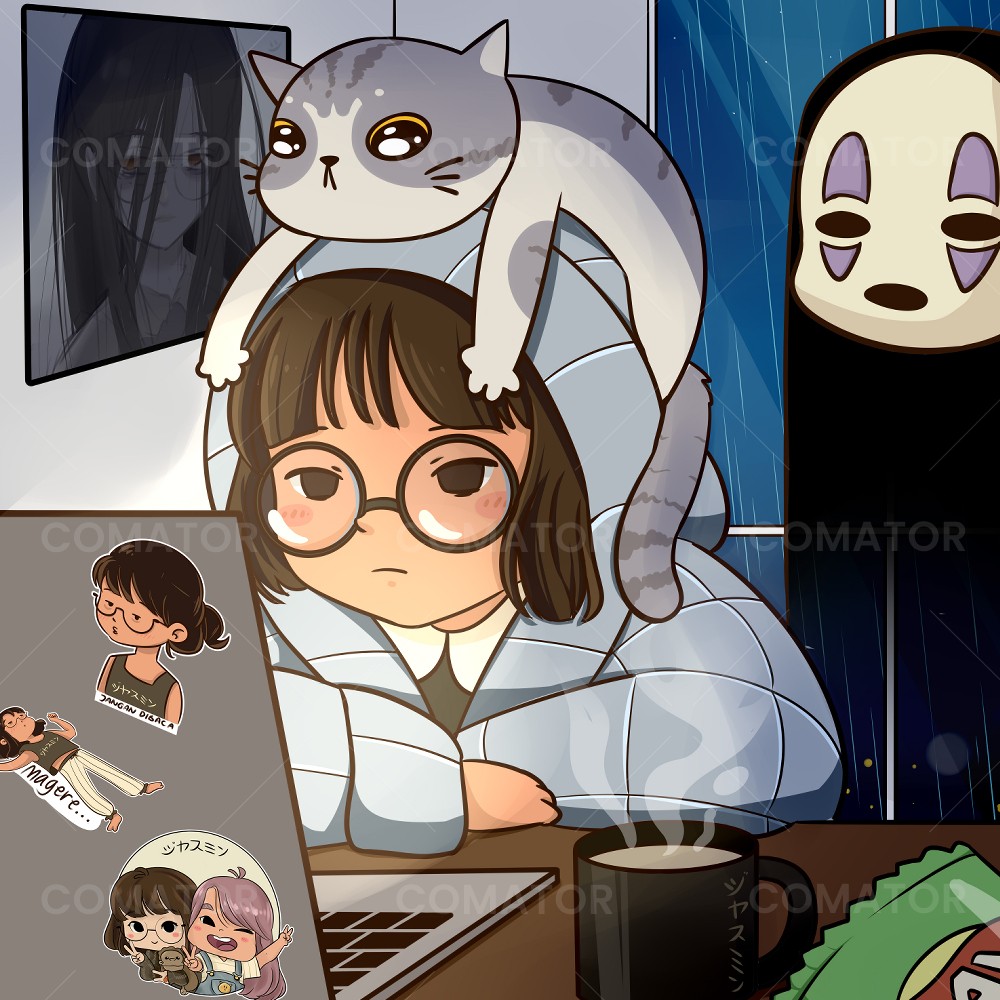
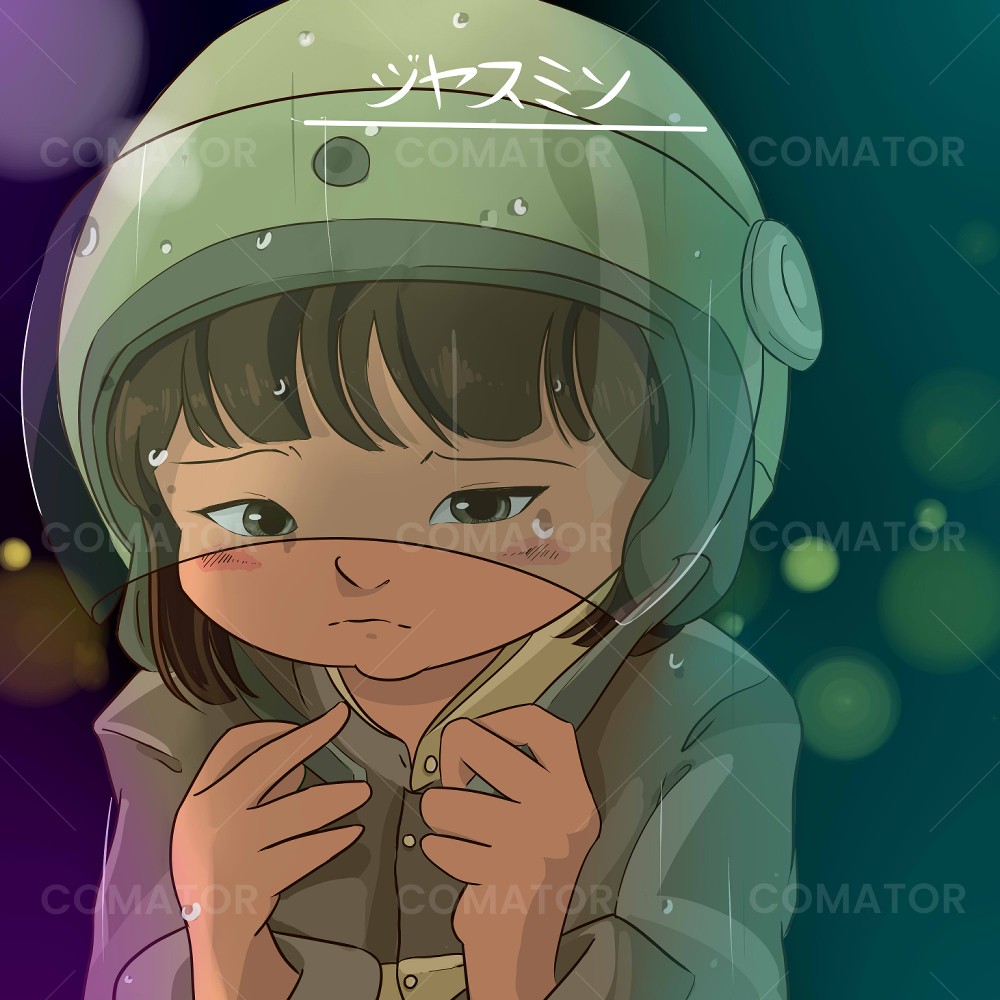
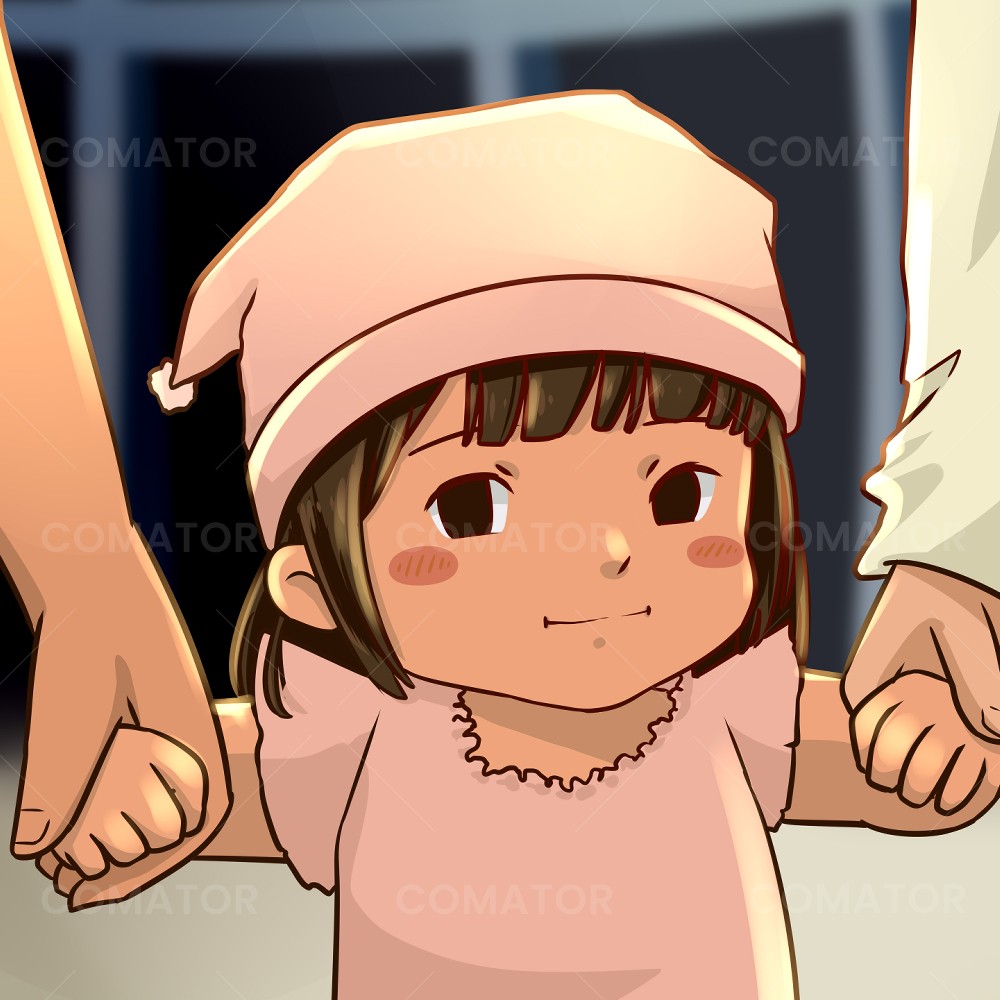
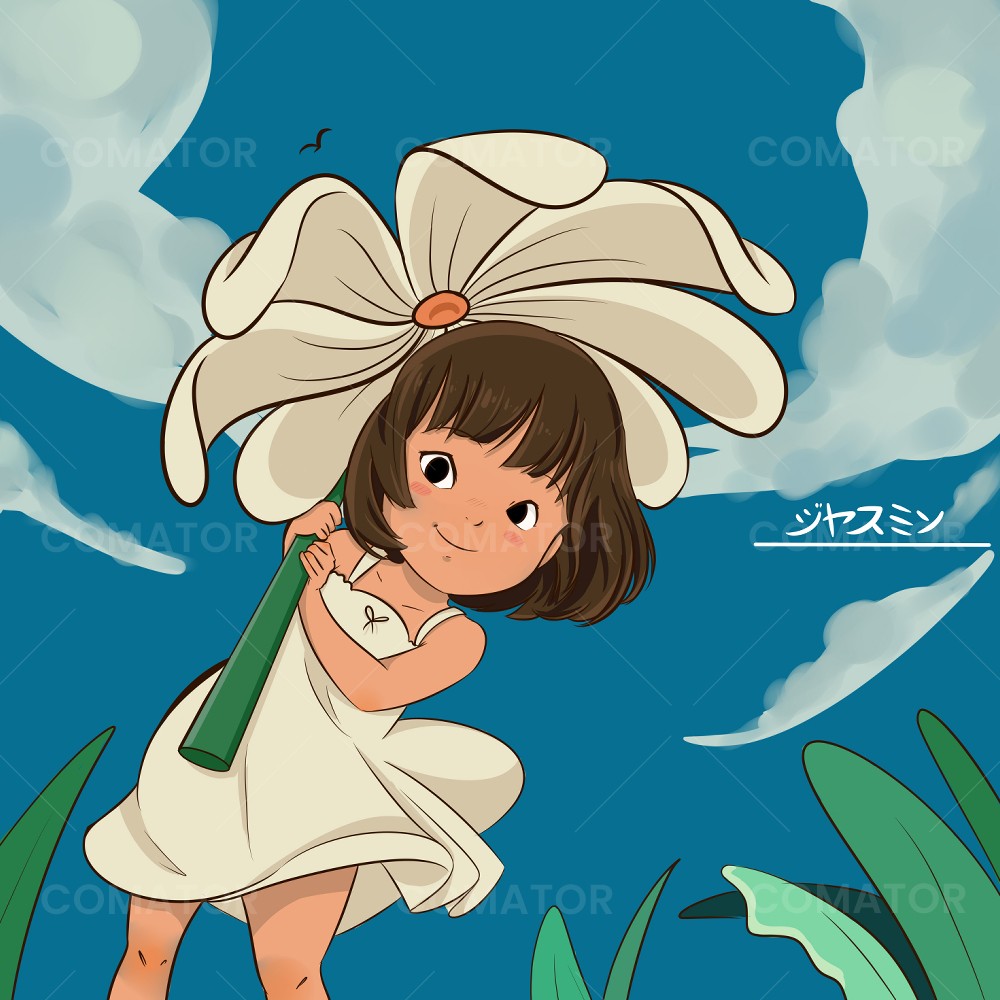
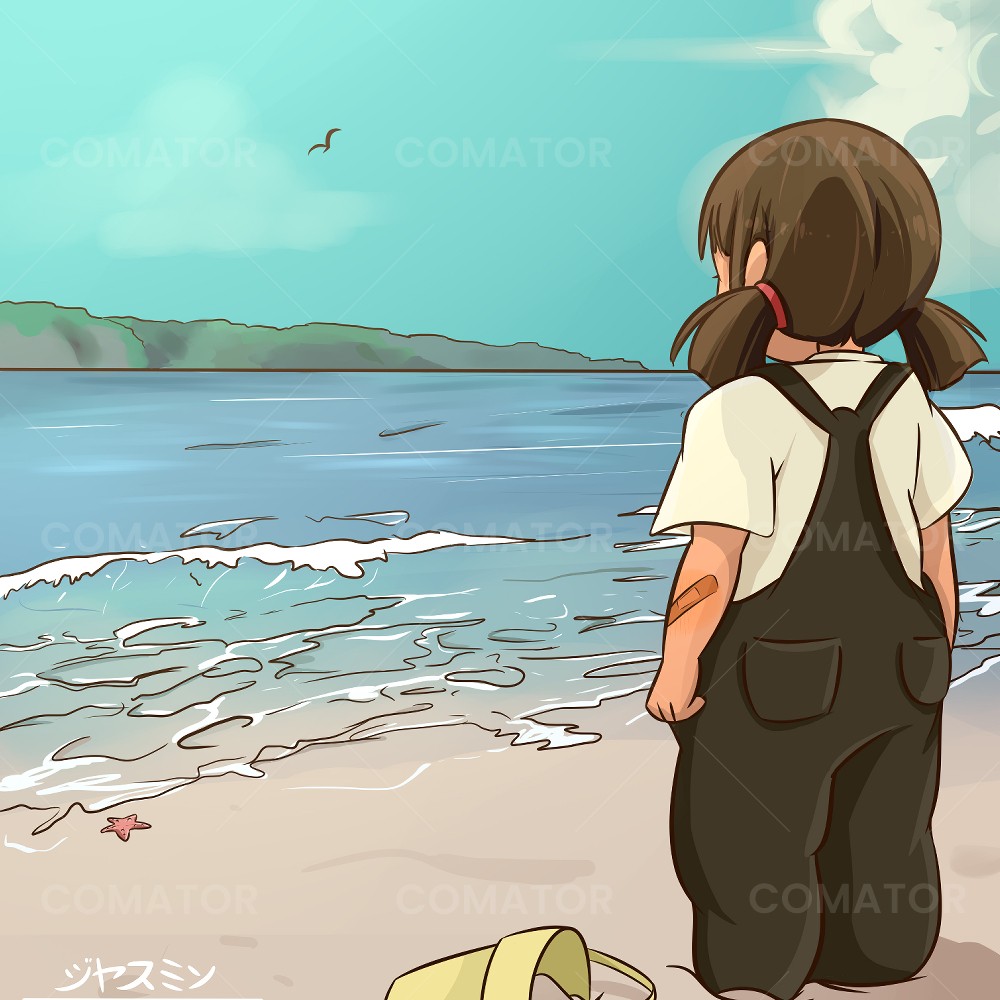
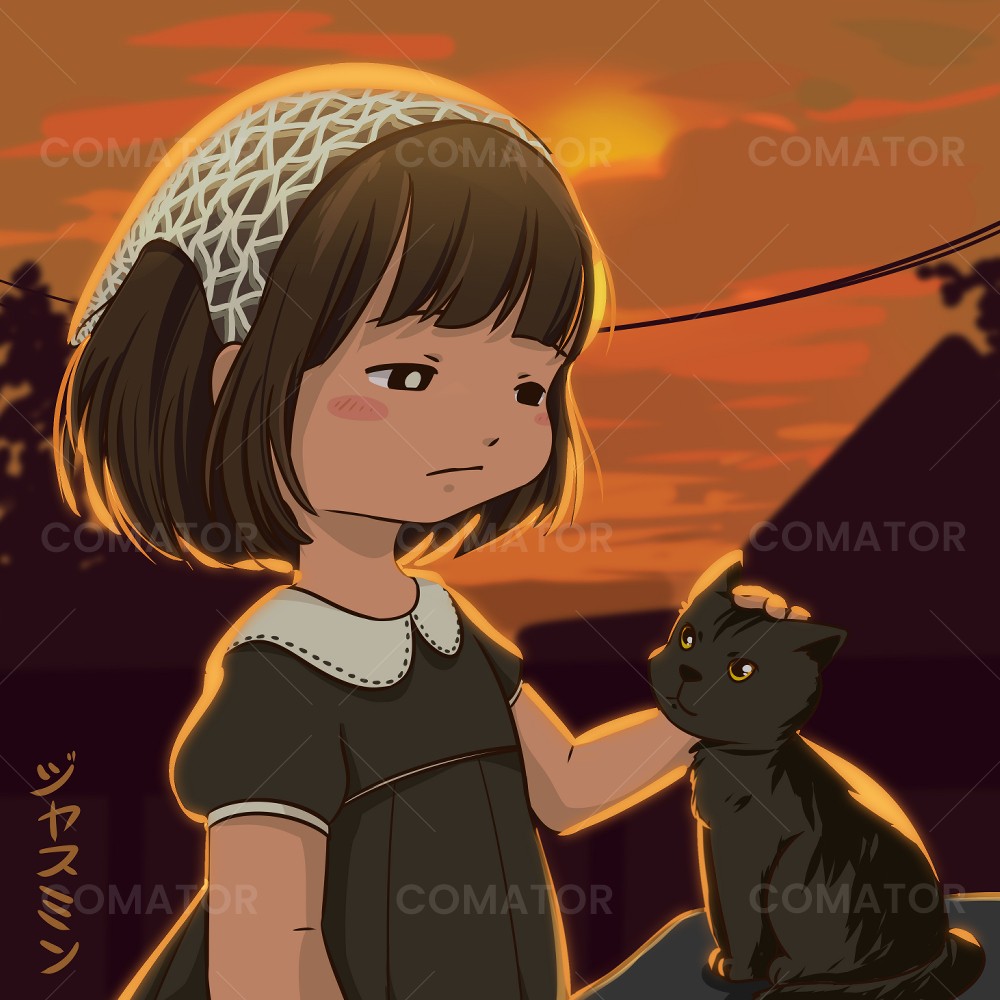
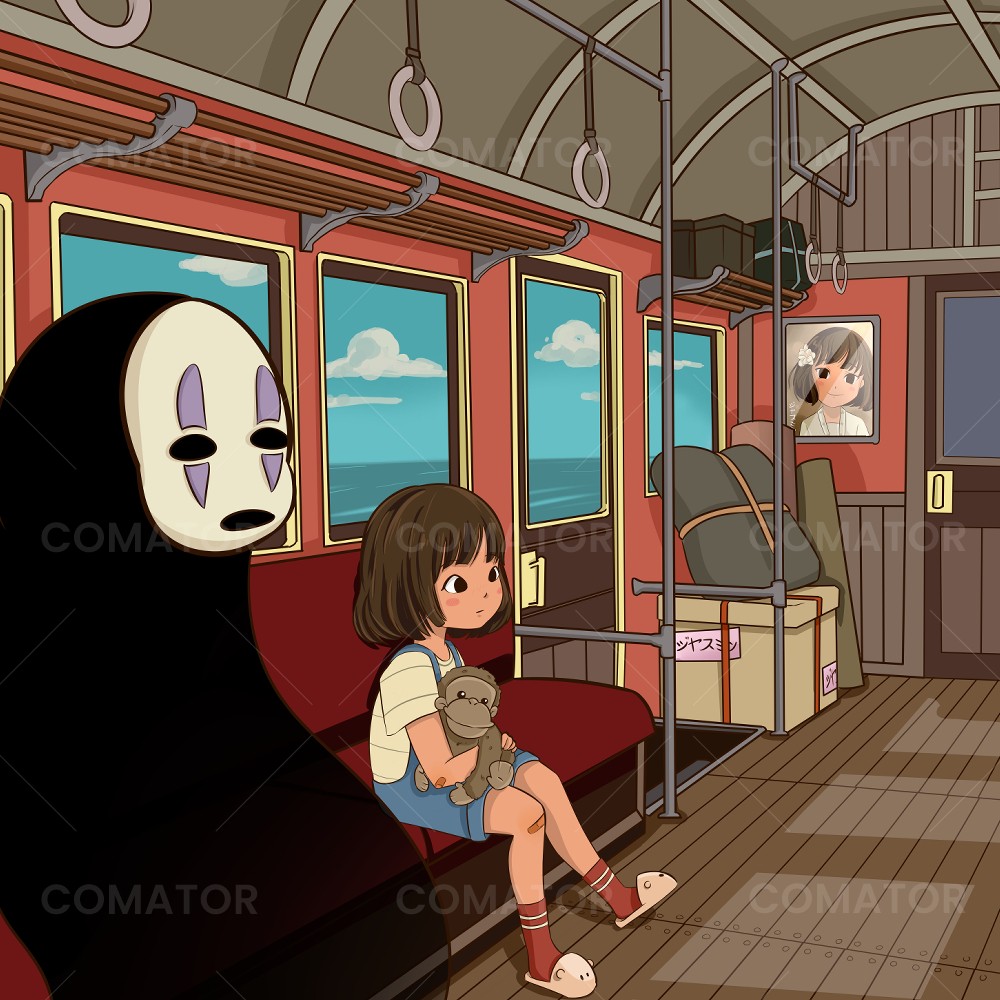
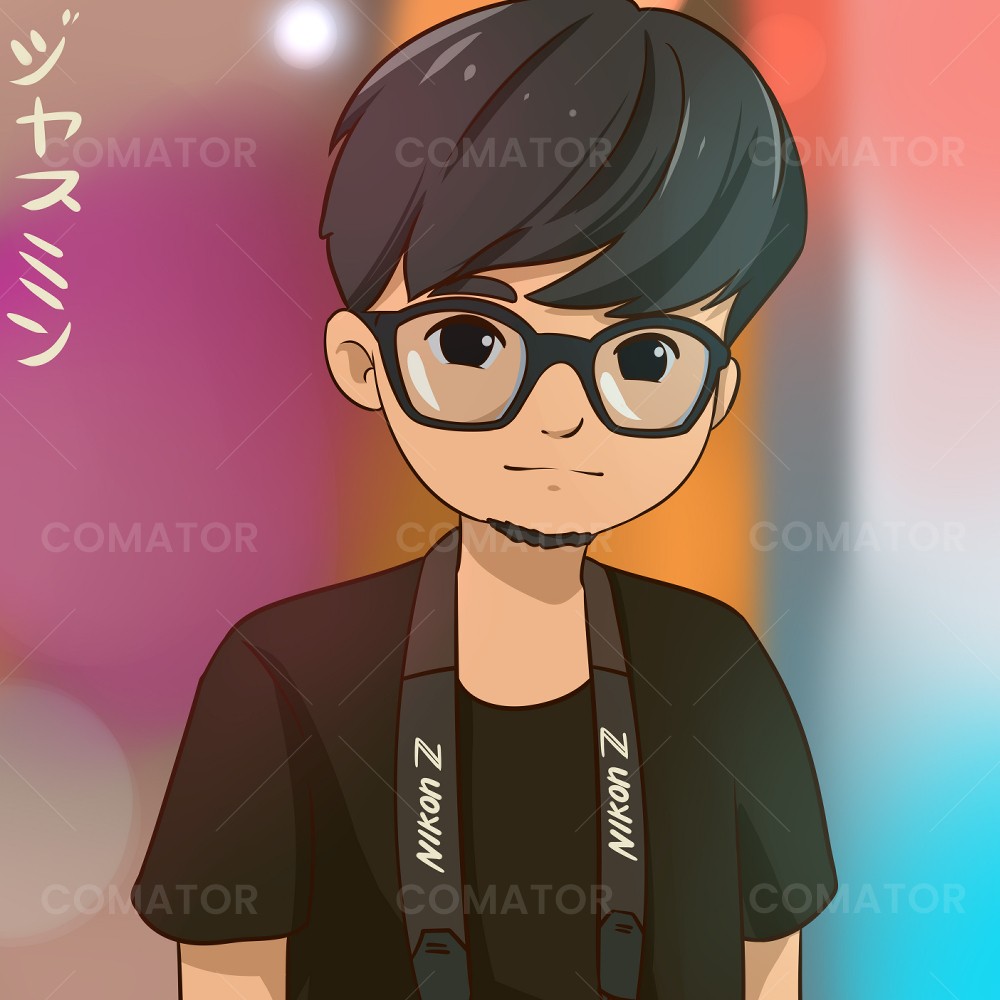
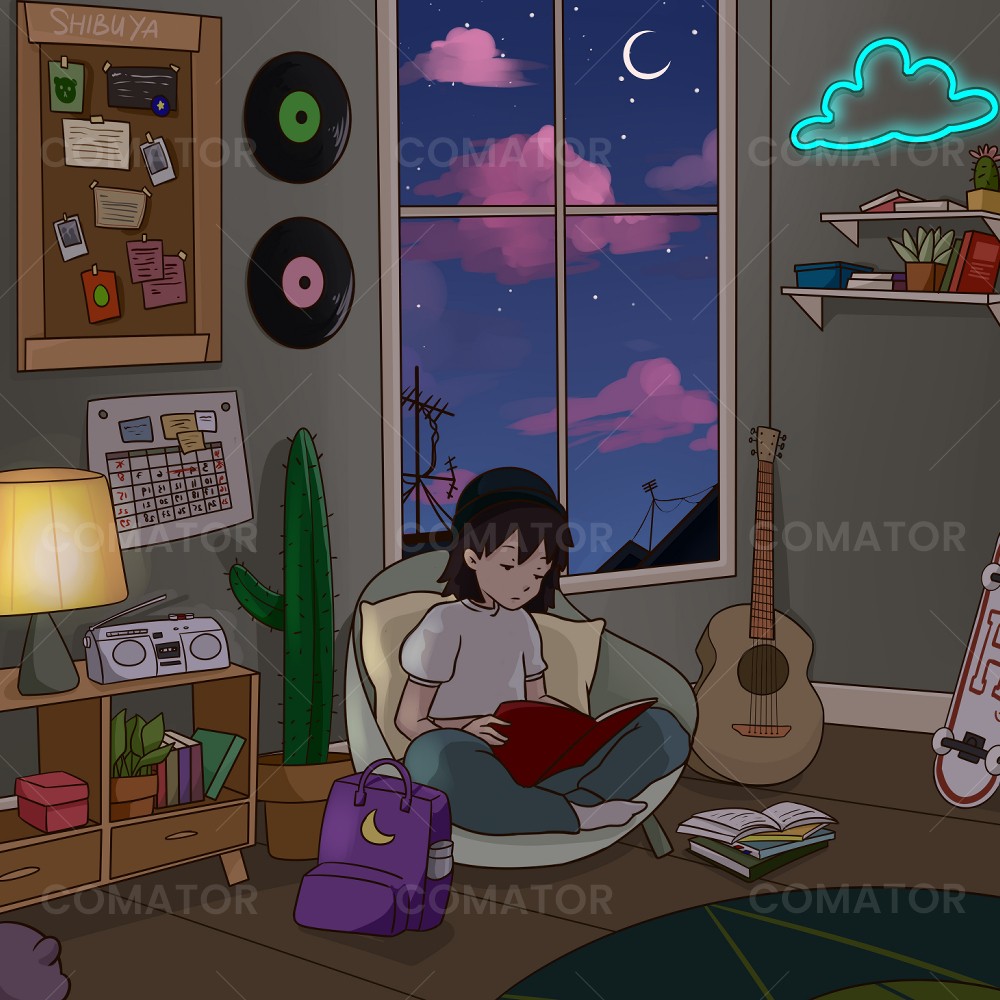
Tata is an artist who has a passion for
illustration. Especially the Ghibli style
themed illustrations.
Latest Works
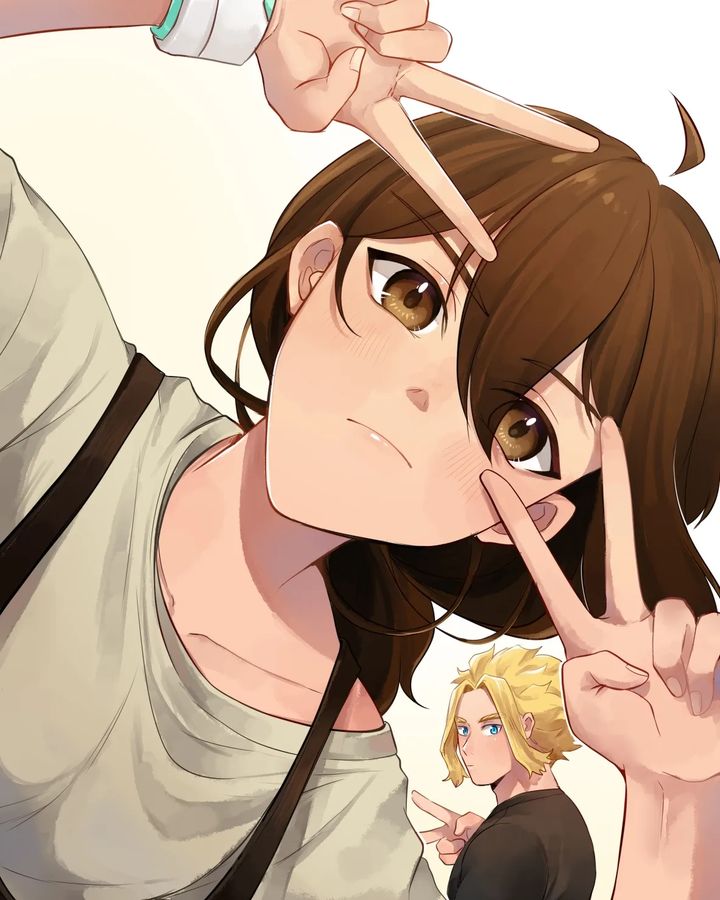
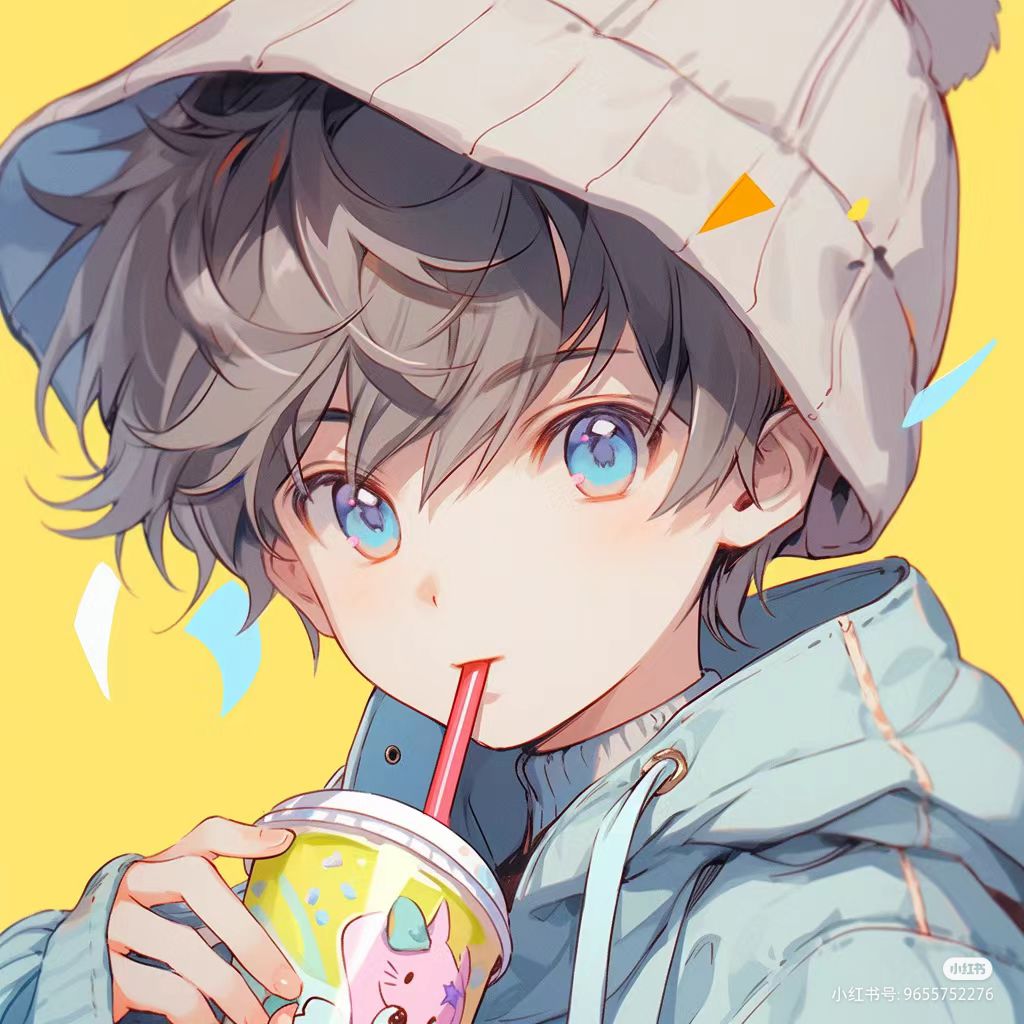
LATEST WORKS
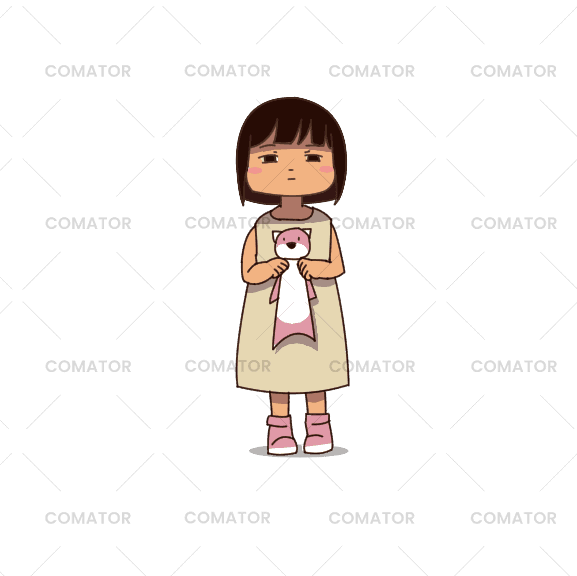
Illustration & Animation
*The above testimonials are valid and sourced from : www.fiverr.com/comator/make-ghibli-or-chibi-style-from-your-request
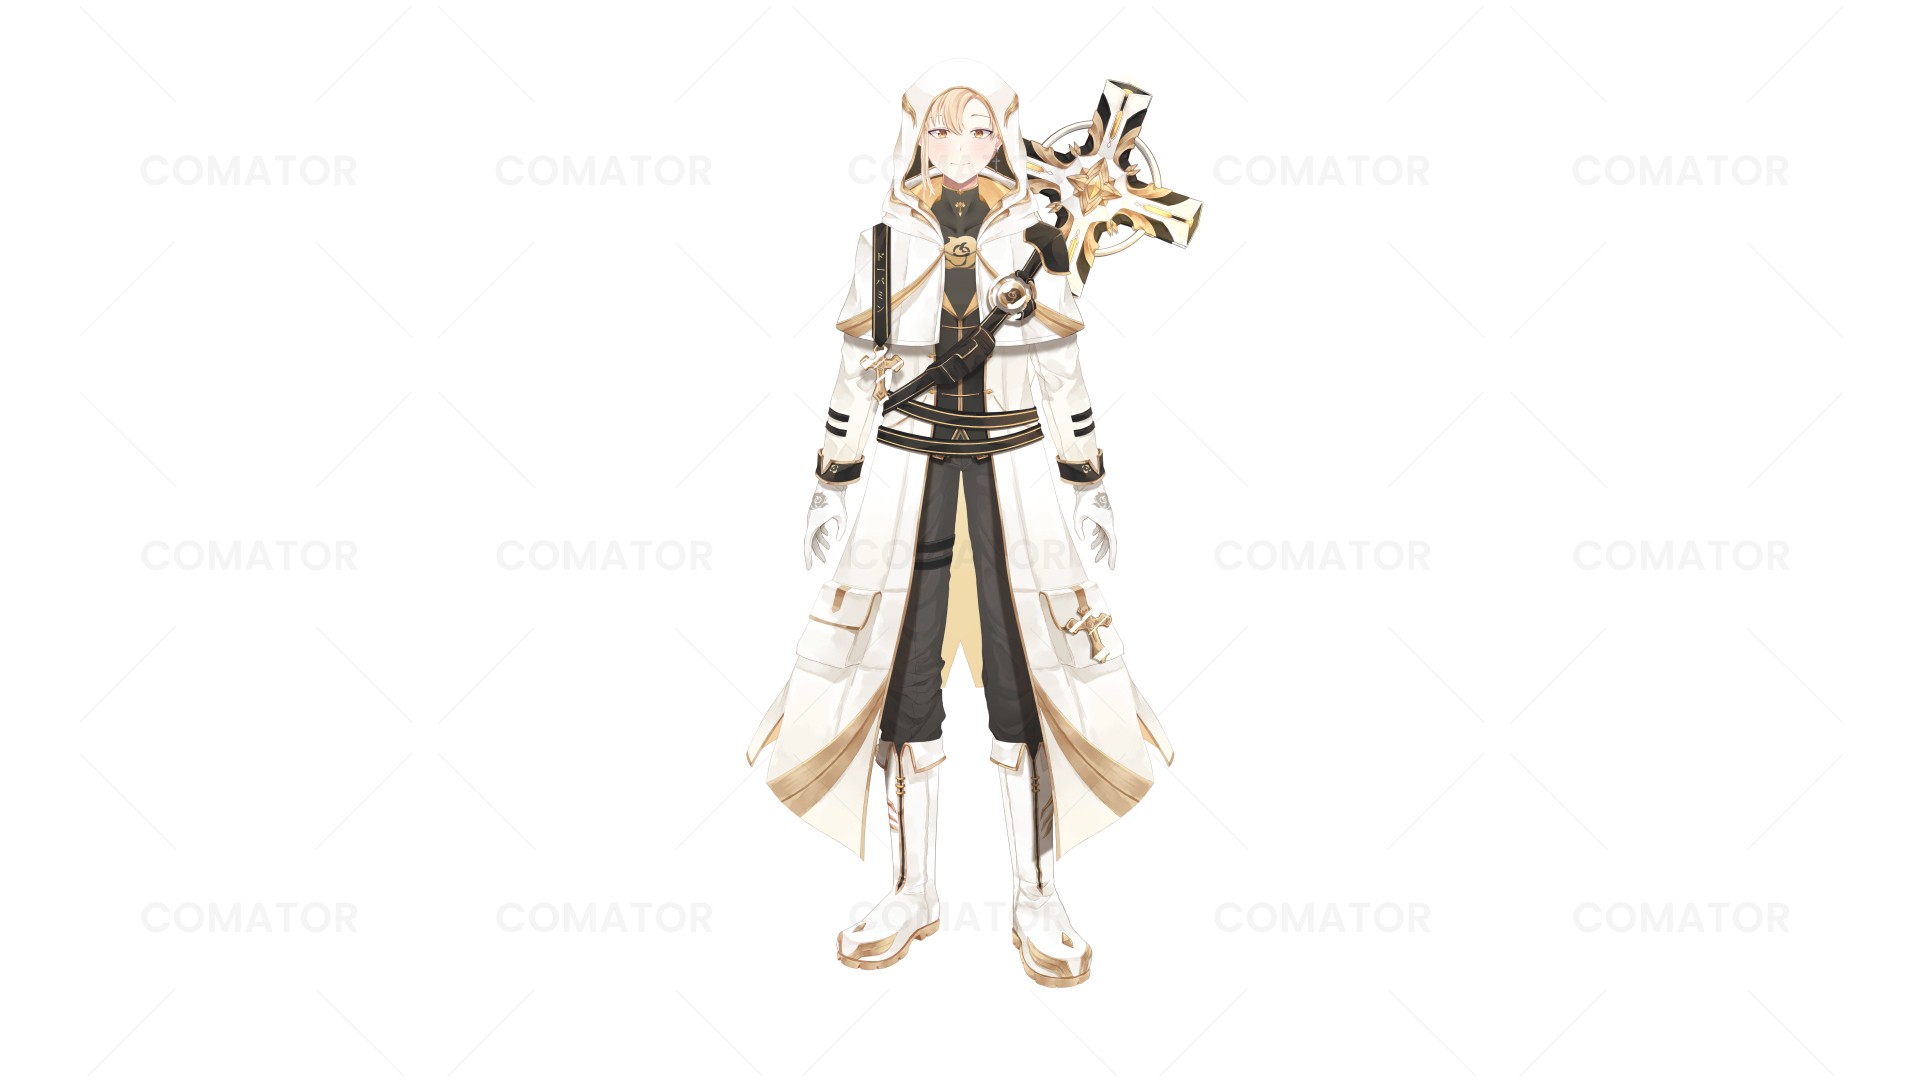
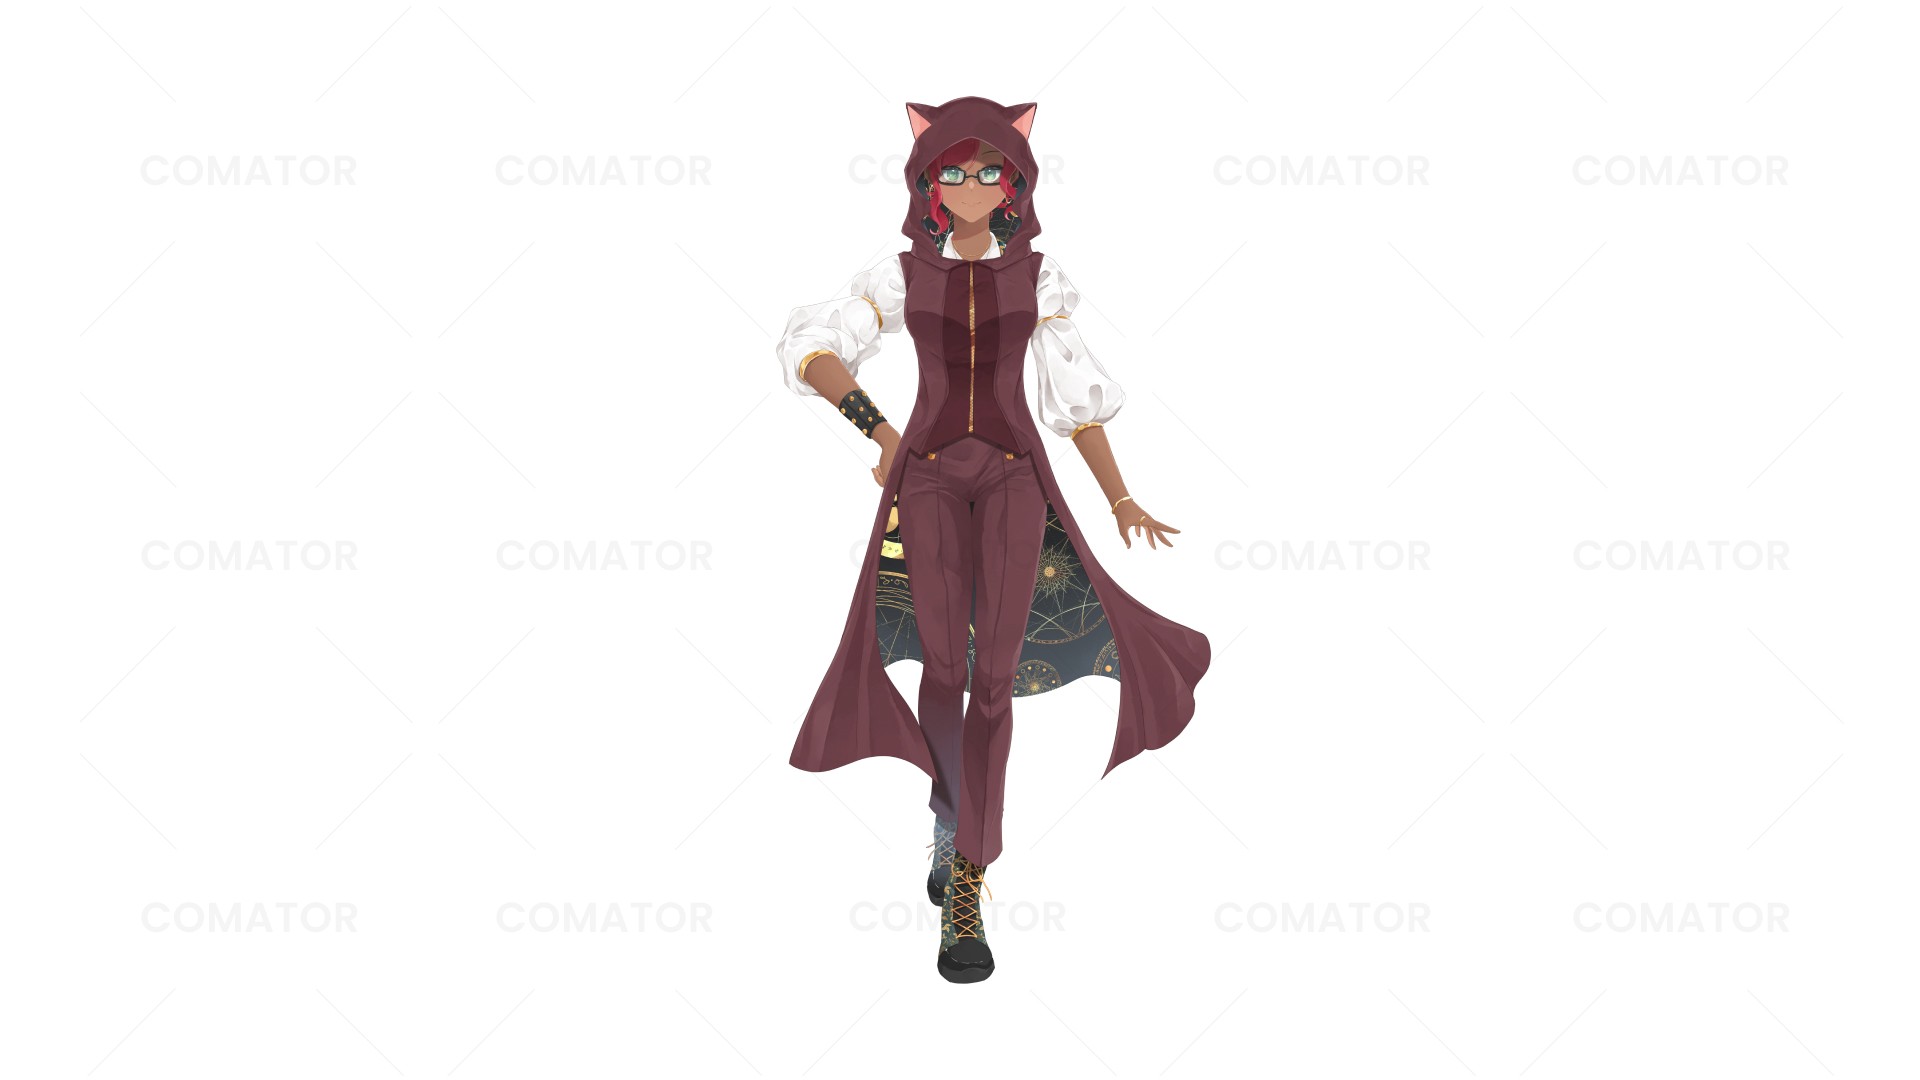
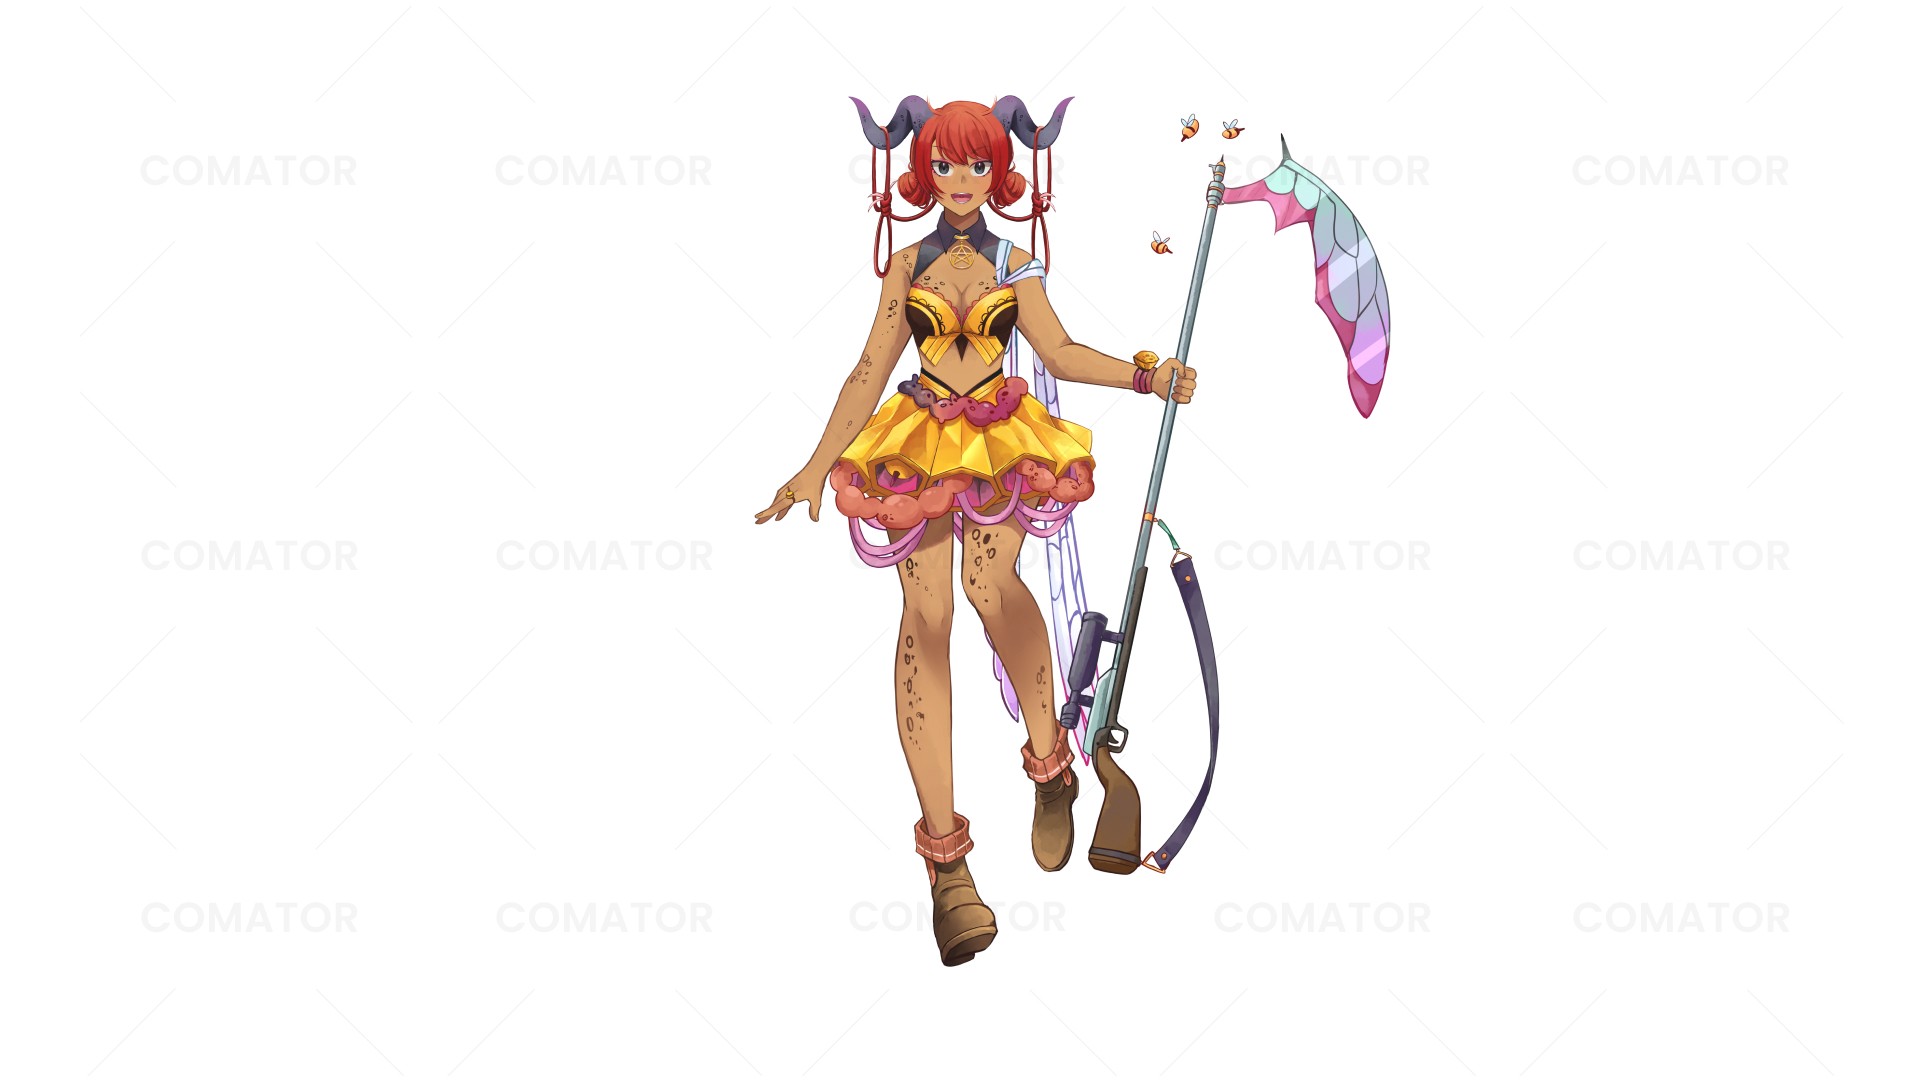
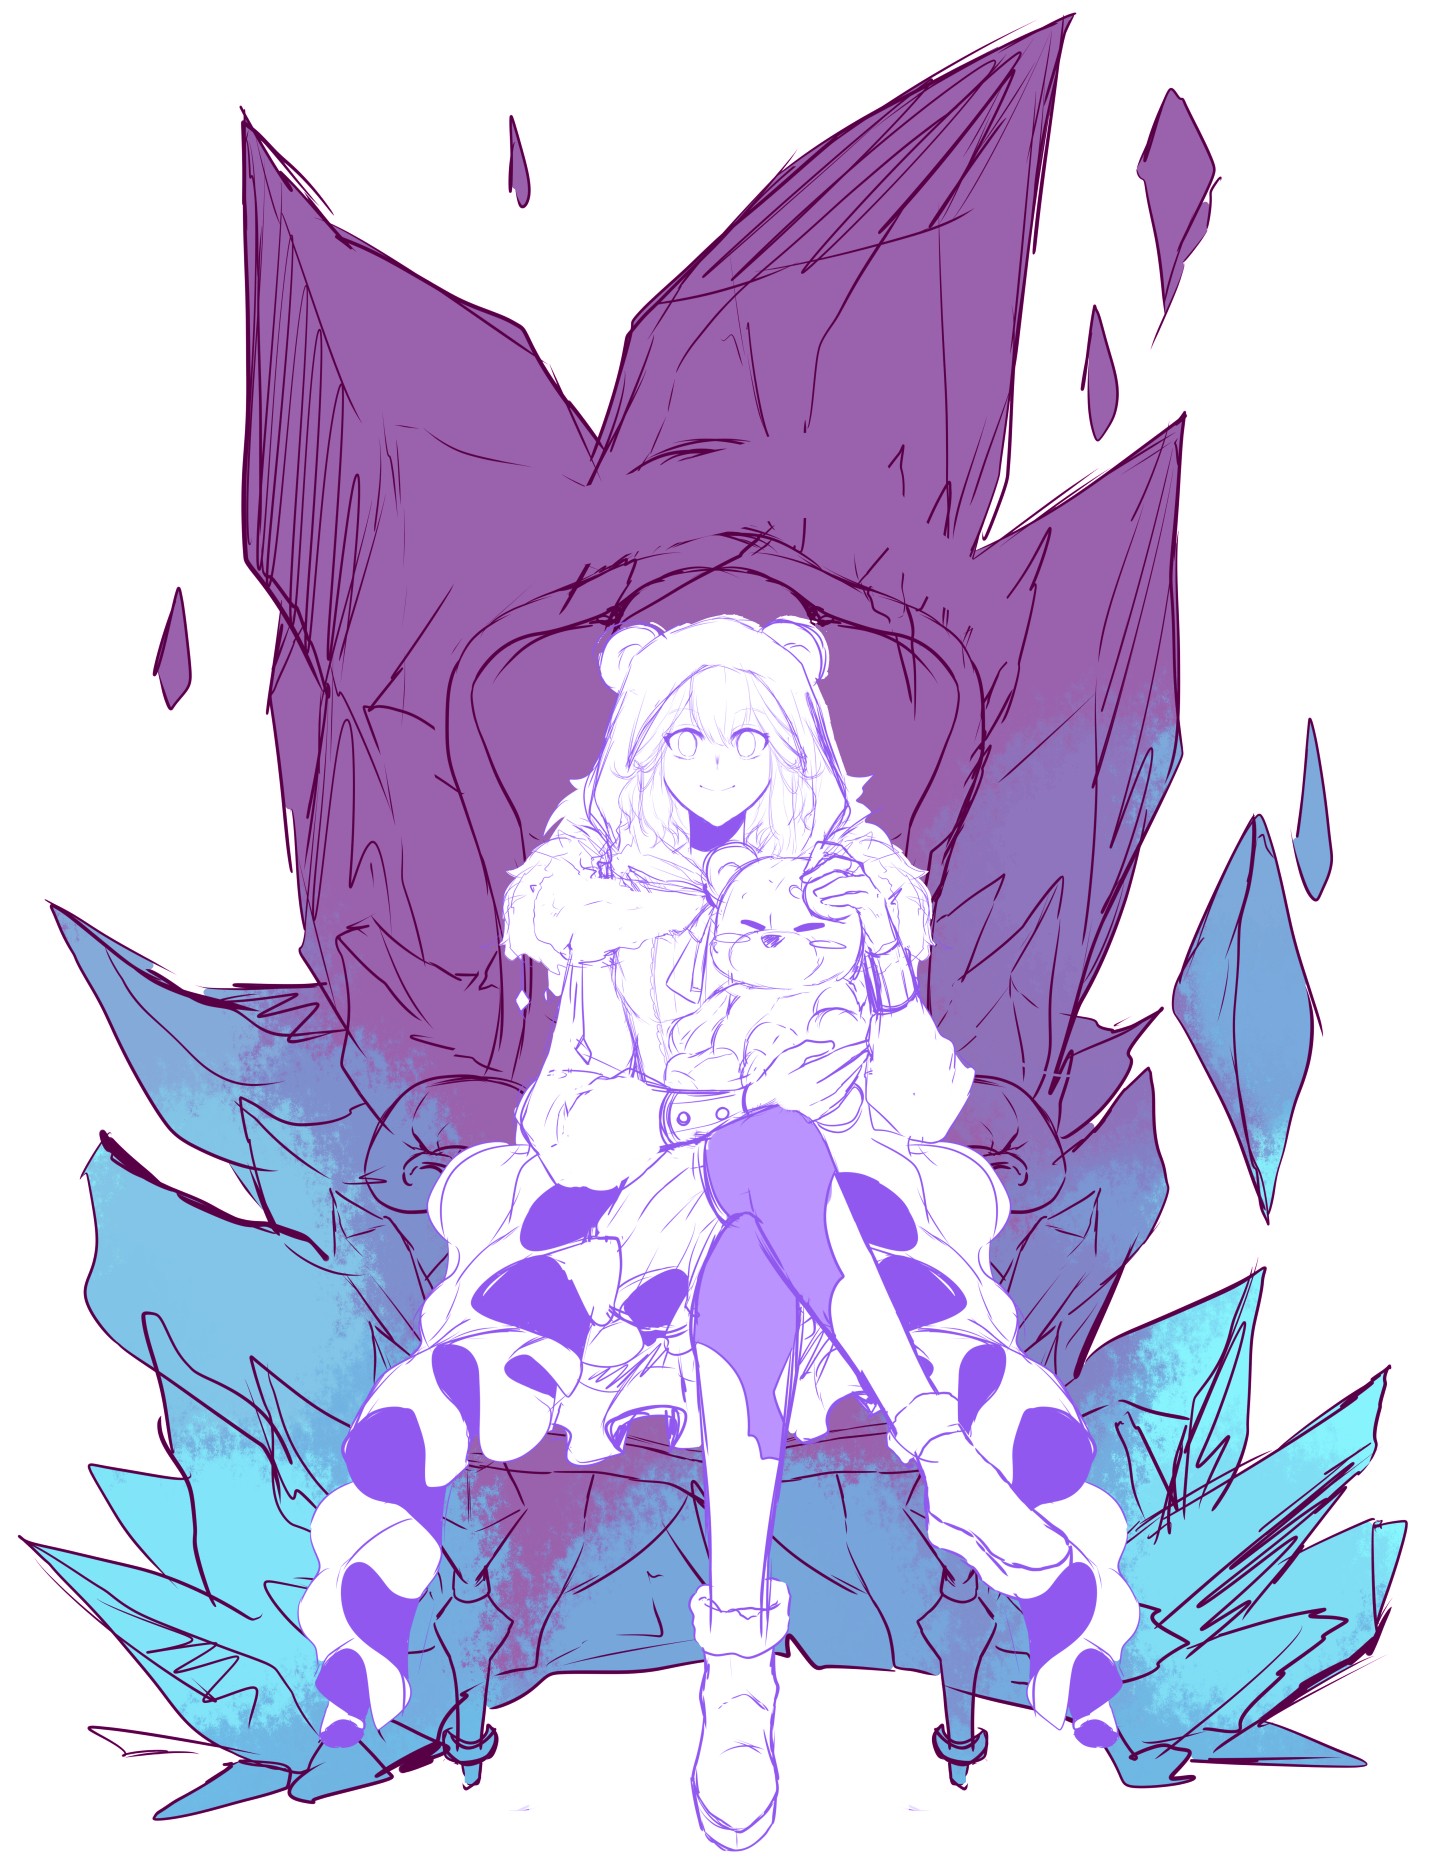
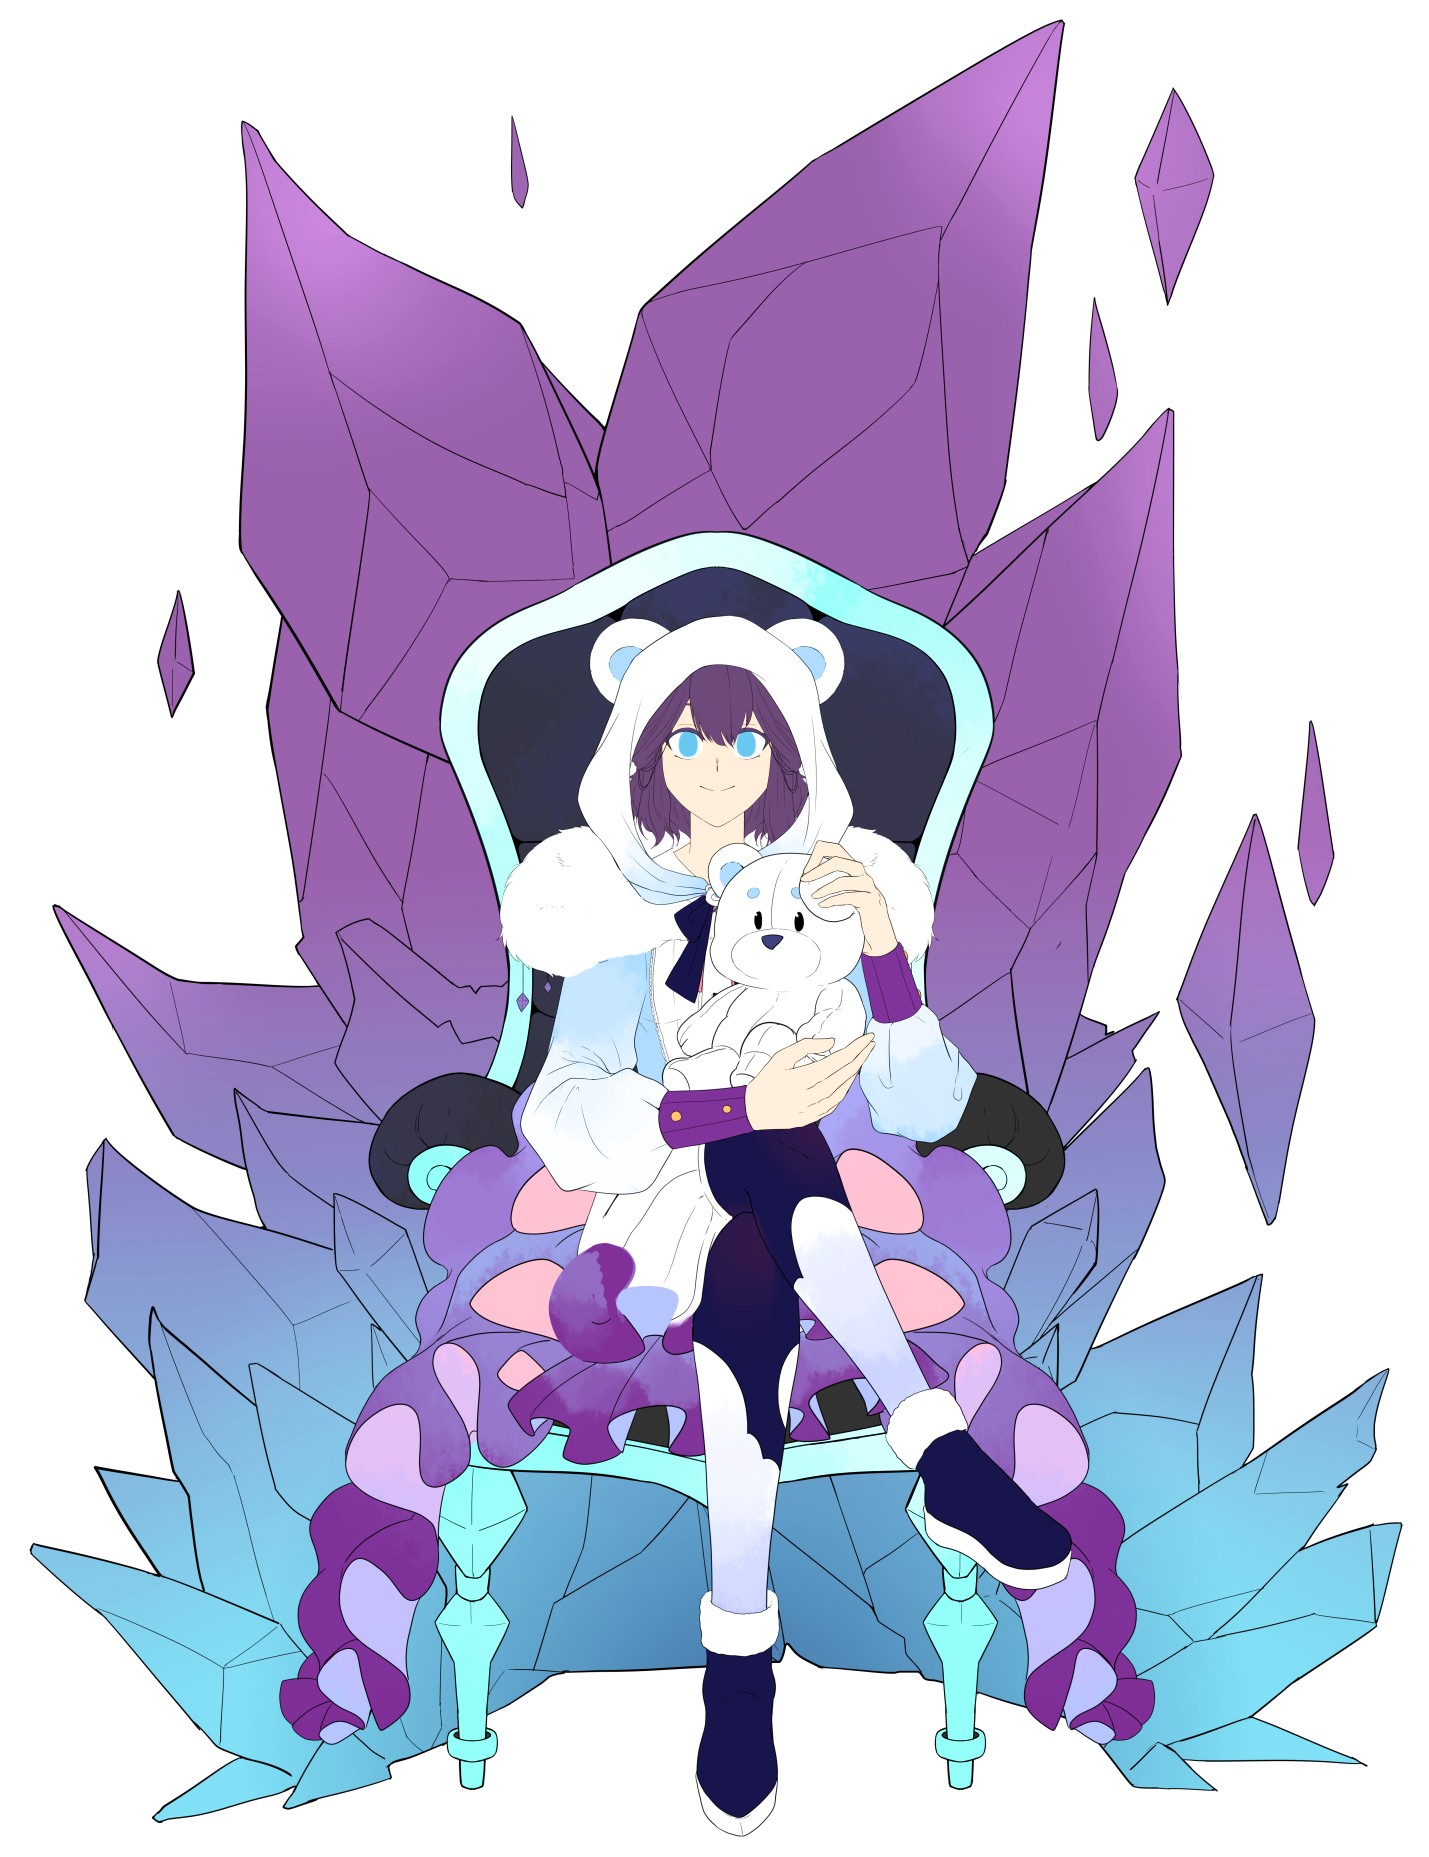
In the character creation that we work on, there are several stages so that the resulting character can match the customer's wishes.
1. Choose the Theme
First of all, decide what theme you want to take. What do you want people to see, feel and understand when they see the character you created. After that, start simplifying the theme, then arrange your theme into one descriptive sentence.
2. Create a background to the story
Create a story about your own character's life, such as where they live, how they live their life and other supporting information. So that the life and character you create really comes alive.
Character Design
3. Give your character a name and personality
Give your character a creative name and match it to the background of the story. The formation of a character's personality has a huge influence on the character that will be created.
4. Determine the type, is it human, animal or other type?
Play with your own imagination about what type of character you want. Not all characters have to be human and come from planet Earth. At this stage, you can even create a new type of character that is neither human nor animal, such as a smart robot. You can create everything yourself with your imagination.
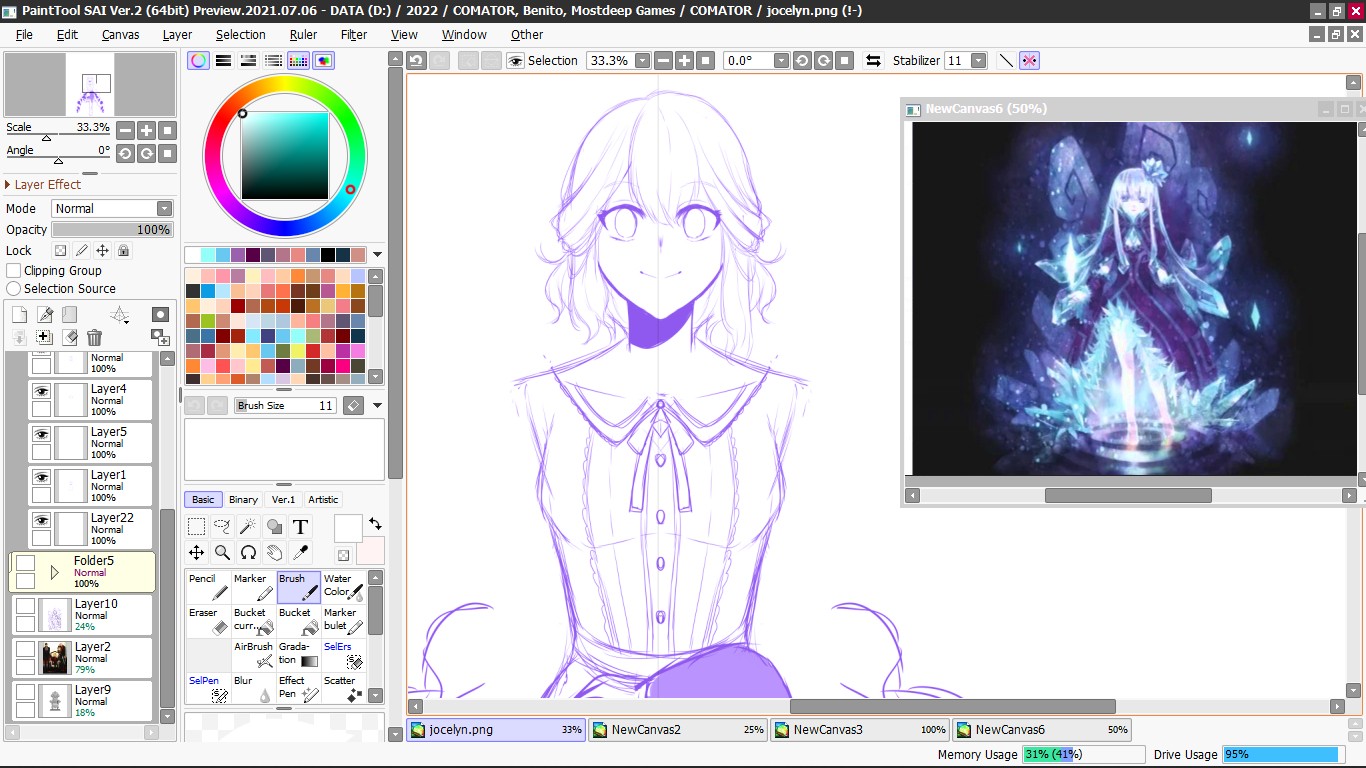
2. Import to Live2d Cubism
Live2D is an animation software program that can be used to generate real-time 2D animations. Usually anime styled characters and continuous parts based on an illustration, without the need of frame-by-frame animation or a 3D model. This enables characters to move using 2.5D movement while maintaining the original illustration.
3. Create an Art Mesh from each part of the model
A set of polygons (mesh) composed of vertices and lines is assigned to the head part. By moving each of these vertices, the image can be deformed to create expression and movement.
We have worked on many projects from around the world, such as this customer from Malaysia. On this project using a pipeline or process that animators go through in producing animated works. There are three stages of the animation pipeline, like pre-production, production and post-production.
In this animation project, we will briefly explain how the process is done.
1. Find inspiration or ideas
Ideas come from reference sources and briefings from clients. It can be in the form of pictures, videos, books or personal experiences. The idea is at the core of each series of animation creation stages. Therefore, it is important to mature the idea before moving on to the next stage.
2. Write a manuscript or script
The next step in the animation pipeline is writing a manuscript or script. The script will be the basic framework for the animated story. The script contains dialogue, action, and storyline that will be used in the animation.
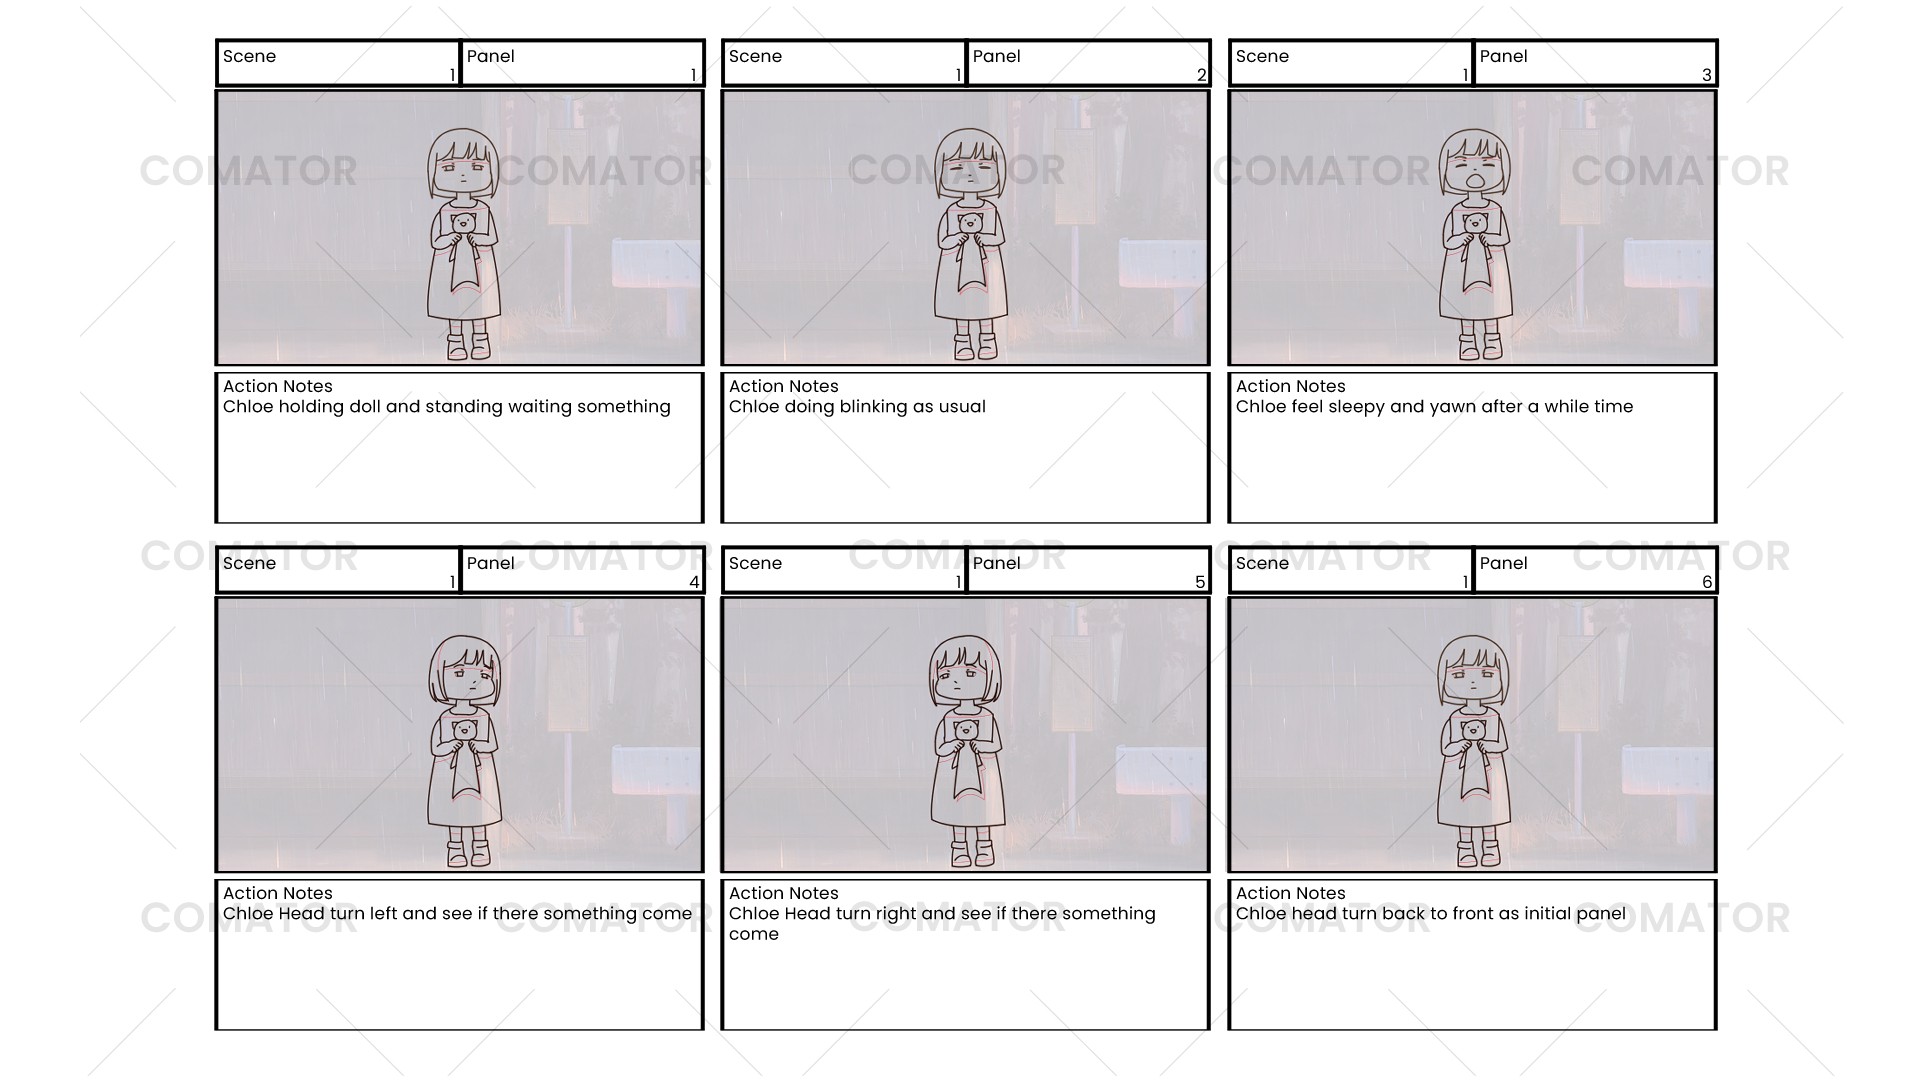
3. Create a storyboard
Storyboard is the initial visualization of animation. A storyboard is a series of pictures or panels containing each scene listed in the script. Storyboards help the animation team understand how scenes will be structured and how the storyline will develop.
4. Character Design, props and settings.
After the storyboard has been successfully created, the animator will design
three important components in the animation (characters, props and setting).
This stage will involve several animation designers, such as 2D artists, 3D
artists, character designers, and so on. This collaboration aims to create
the main characters, objects and backgrounds that will be used in the animation.
5. Recording audio
Just like the visual component, the audio component is also important in bringing animation to life. Audio products recorded for animation include character voices, sound effects, and background music.
6. Create an animatic
Animatic is a moving image created based on a storyboard. In short, animation is a rough version of animation. Animatic helps the animation team to get a clearer picture of how each scene will be developed. Animatic images are created sequentially so that they are easy to use.
5. Is He Tall, Short, Thin, or Fat?
Explore the body shape and appearance of your own character. The tip is to draw a separate head from the character's body, match three different body types and outline the head. Which looks more attractive? And why?
6. Determine the color
Each color has a meaning. So, choose the appropriate color because color can influence the mood when people see it. Usually, the use of bright colors depicts fun and enthusiasm, dark colors depict mystery, red depicts courage, passion and anger, green depicts something related to nature and money.
8. Create a style, clothes and supporting accessories
The clothes and supporting accessories your character wears are definitely based on the personality you created previously. Pay attention to small details, such as buttons and stitching on the shirt.
Example :
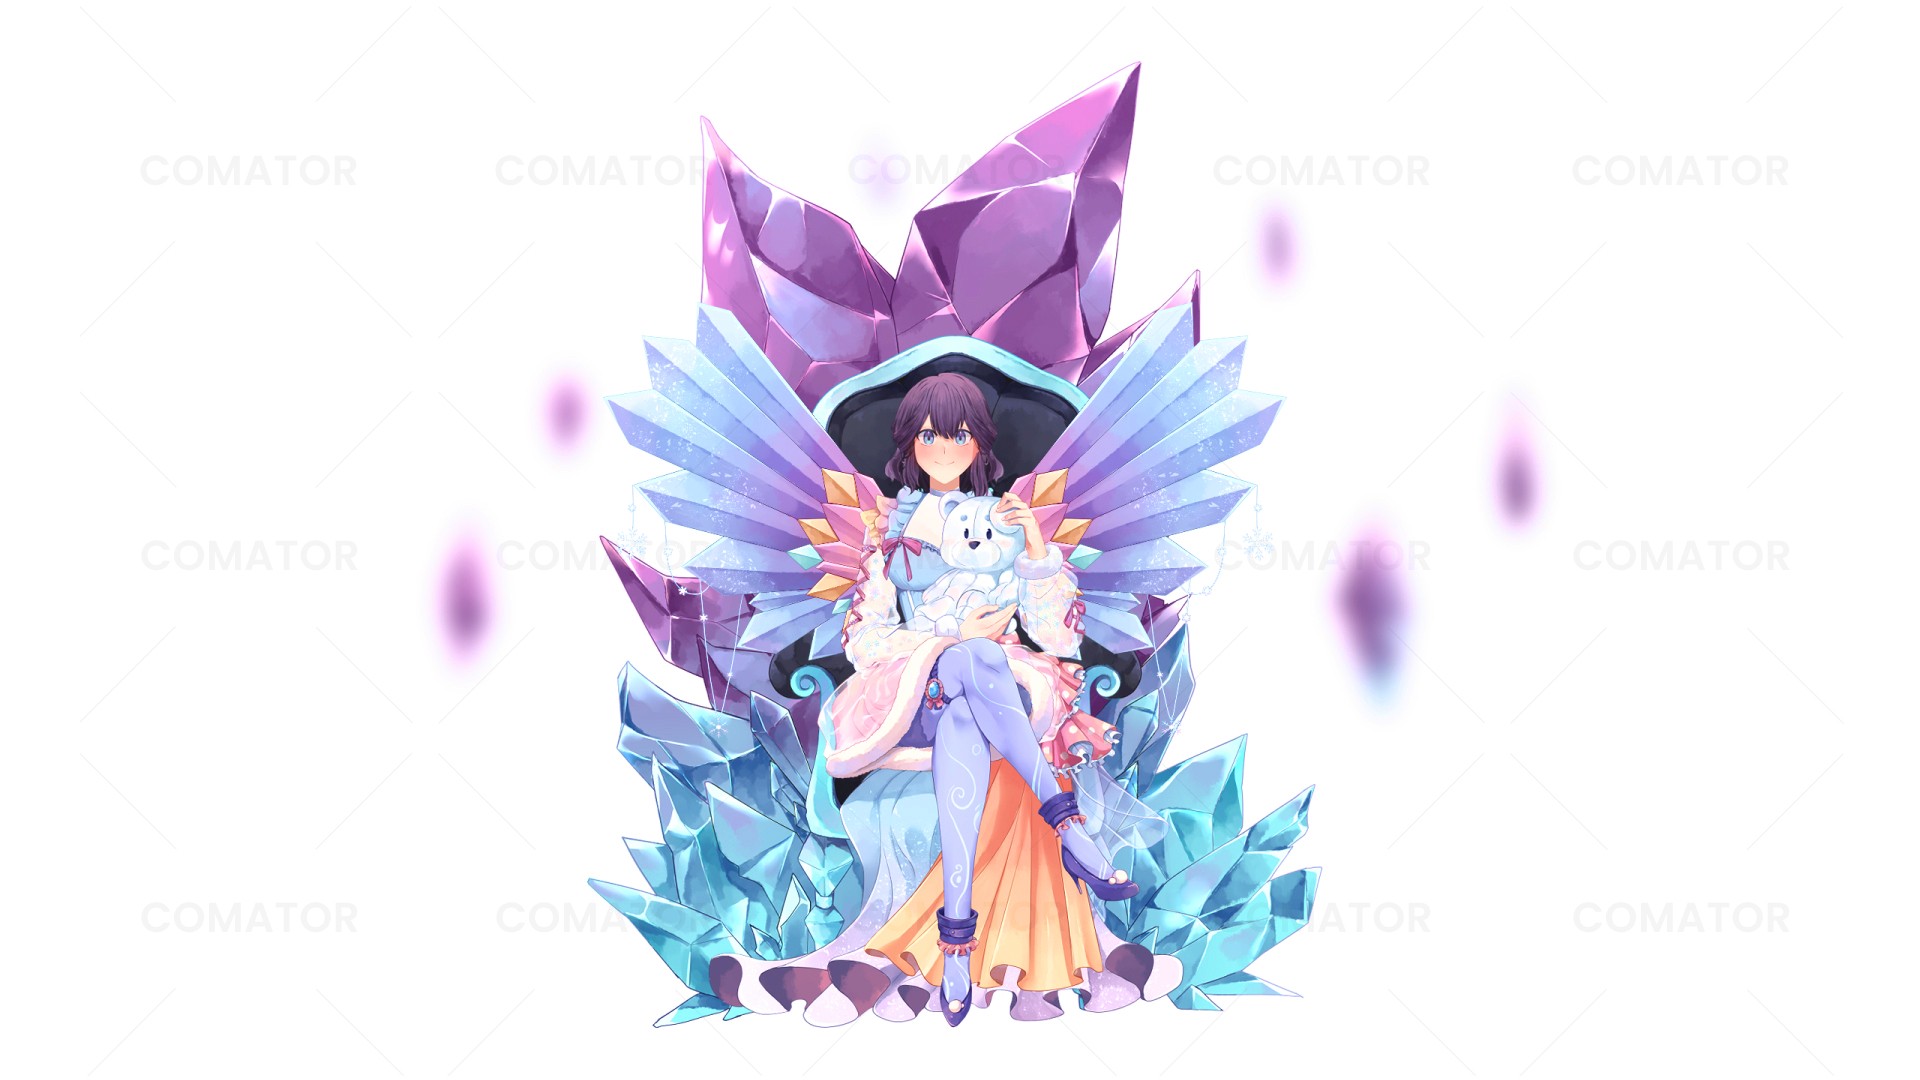
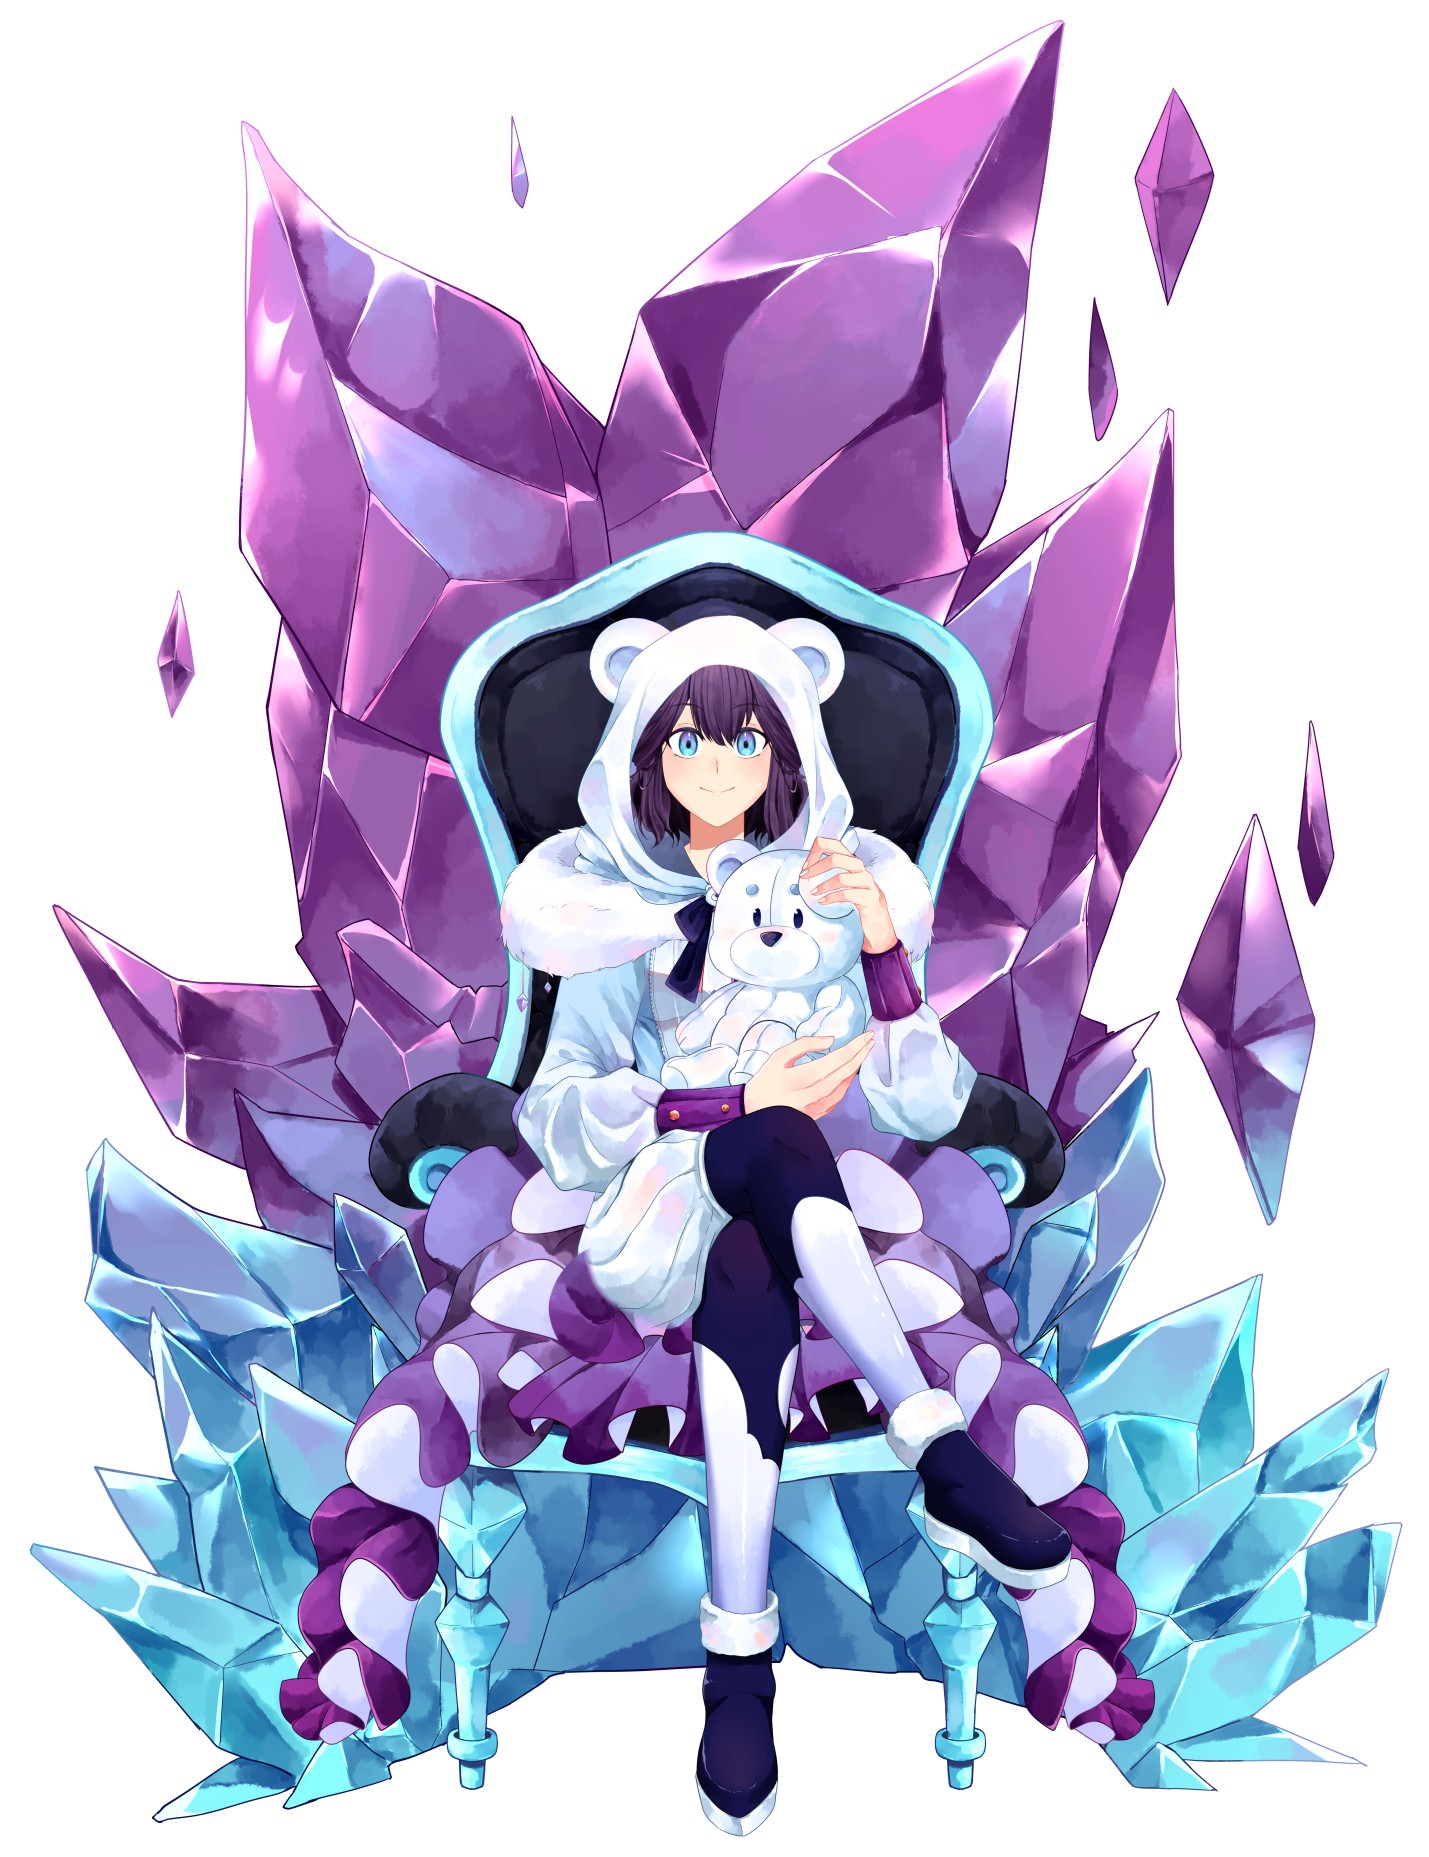
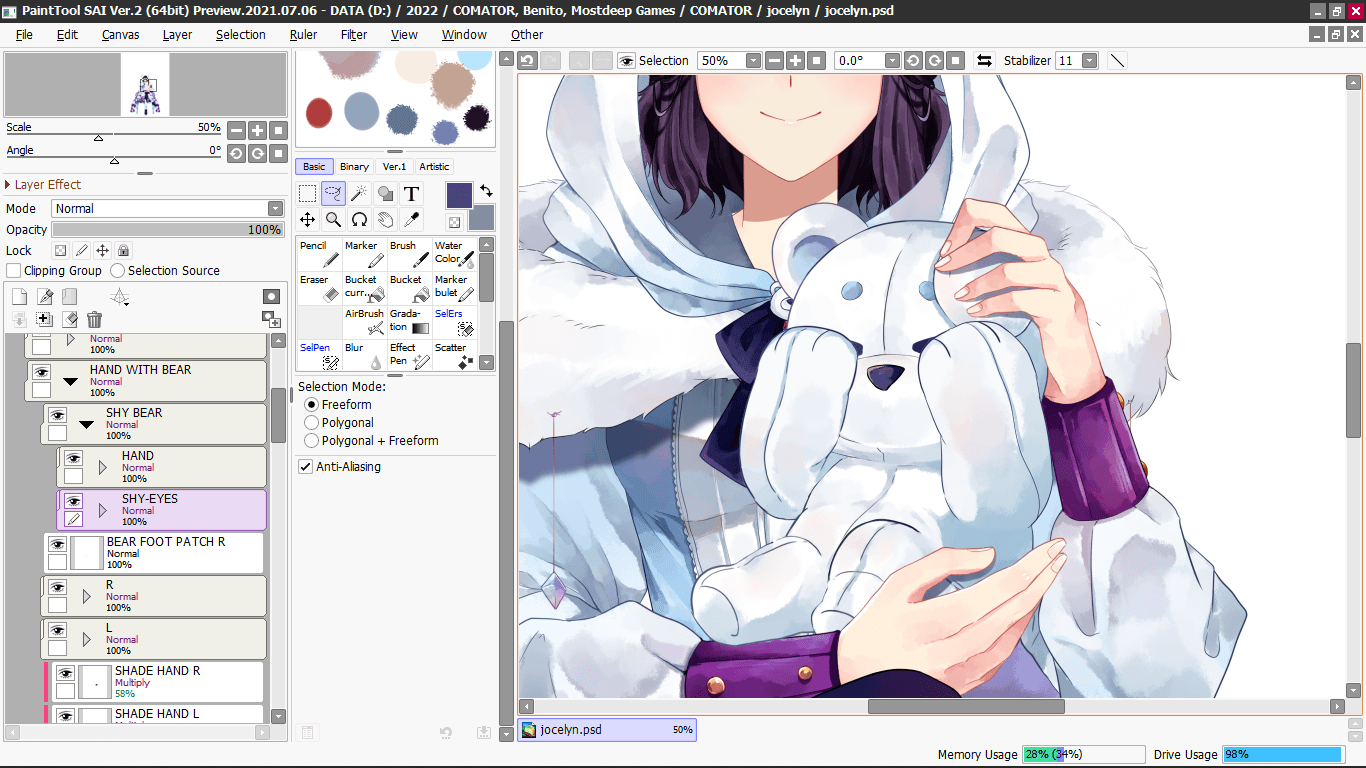
I need this character to look absolutely stunning and so excited to get this done! My character is female with a cute bear hoodie dress that is amethyst
in color and a cute white teddy bear that my significat other will voice so he will need basic animation on my character. I would love for her to be sitting
on a crystal throne that is purple and blue tones together. I would need the
girl to be able to track with facerig and myself.
#Gender : Female
#Outfit : Cute Bear Hoodie Dress (amethyst in color)
#Pose : Sitting on a crtstal throne (purple and blue tones)

*The above testimonials are valid and sourced from : www.fiverr.com/comator/make-live2d-showcase-comission
VTuber Rigging
Rigging is the process of adding bones and joints to custom VTuber models so that they can move. Complex rigging allows the character to move freely.
Here are several stages that we can explain briefly:
Character Design
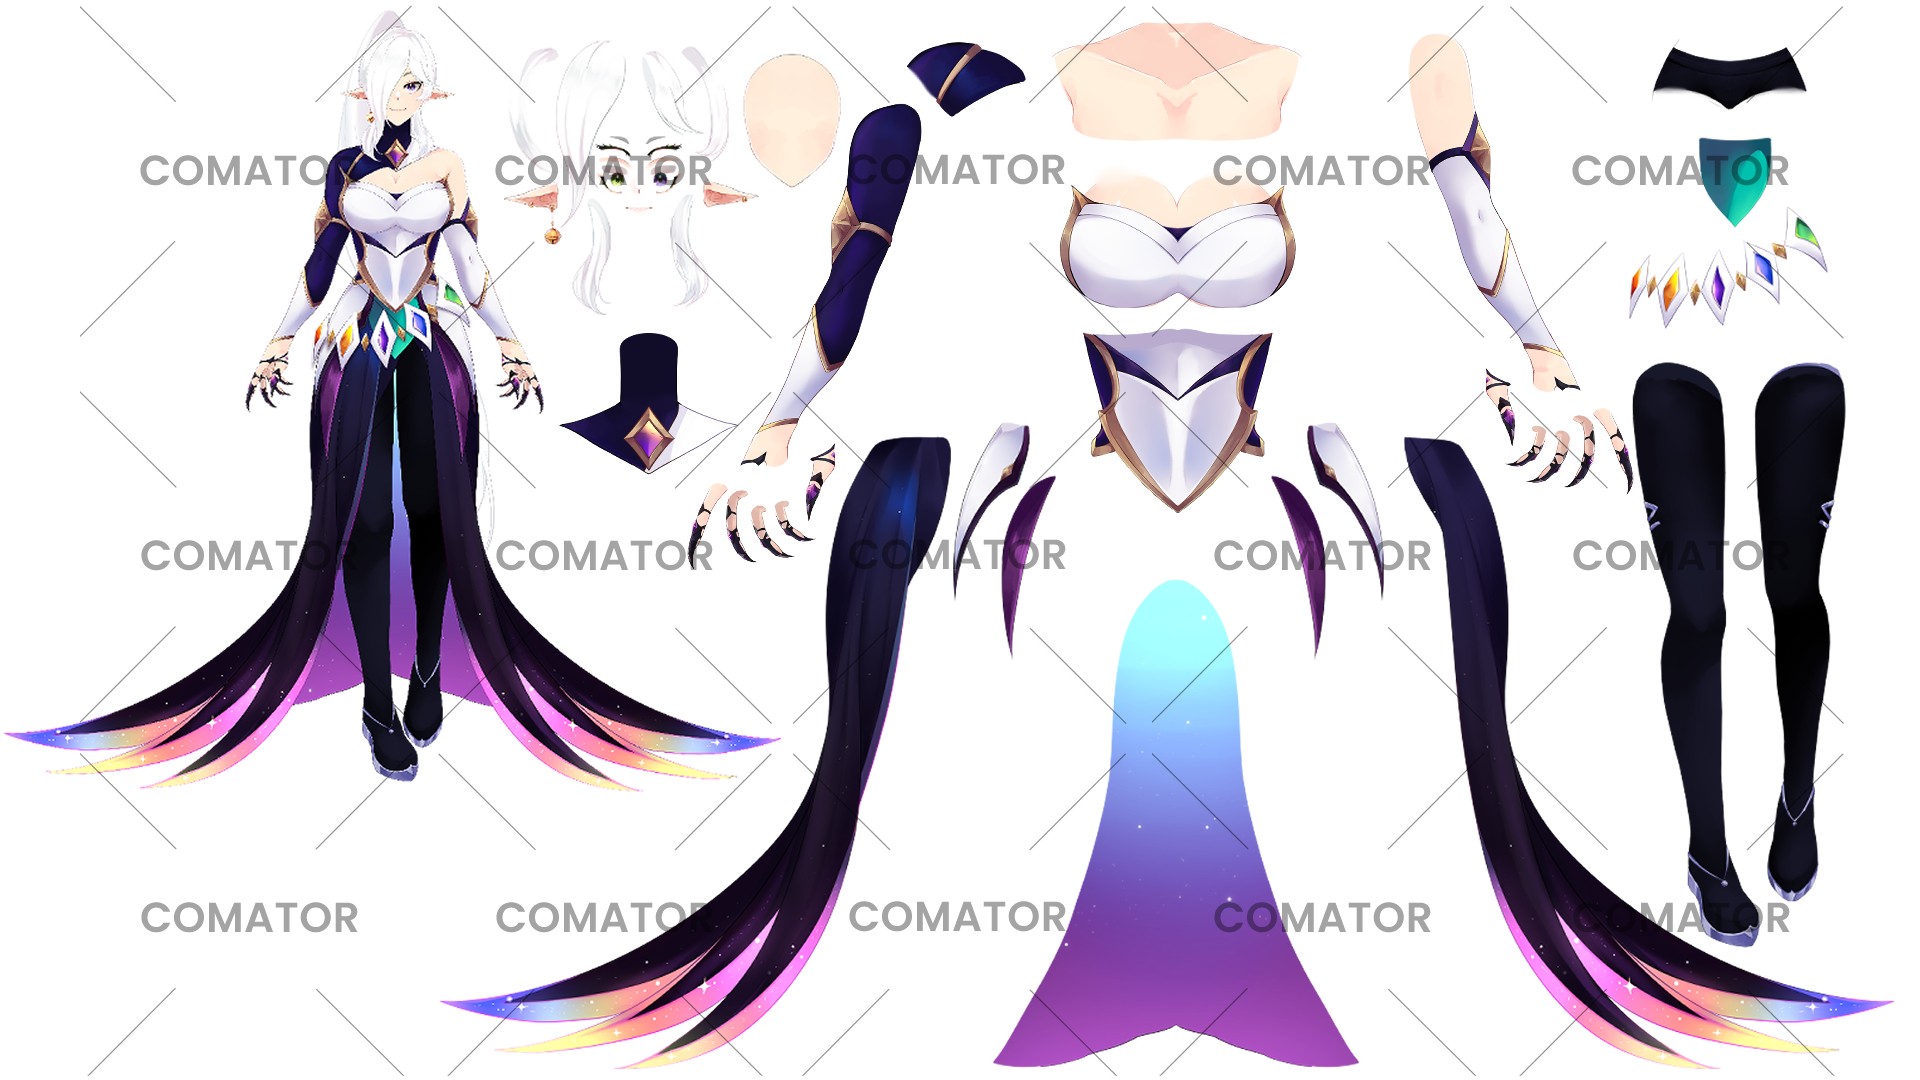
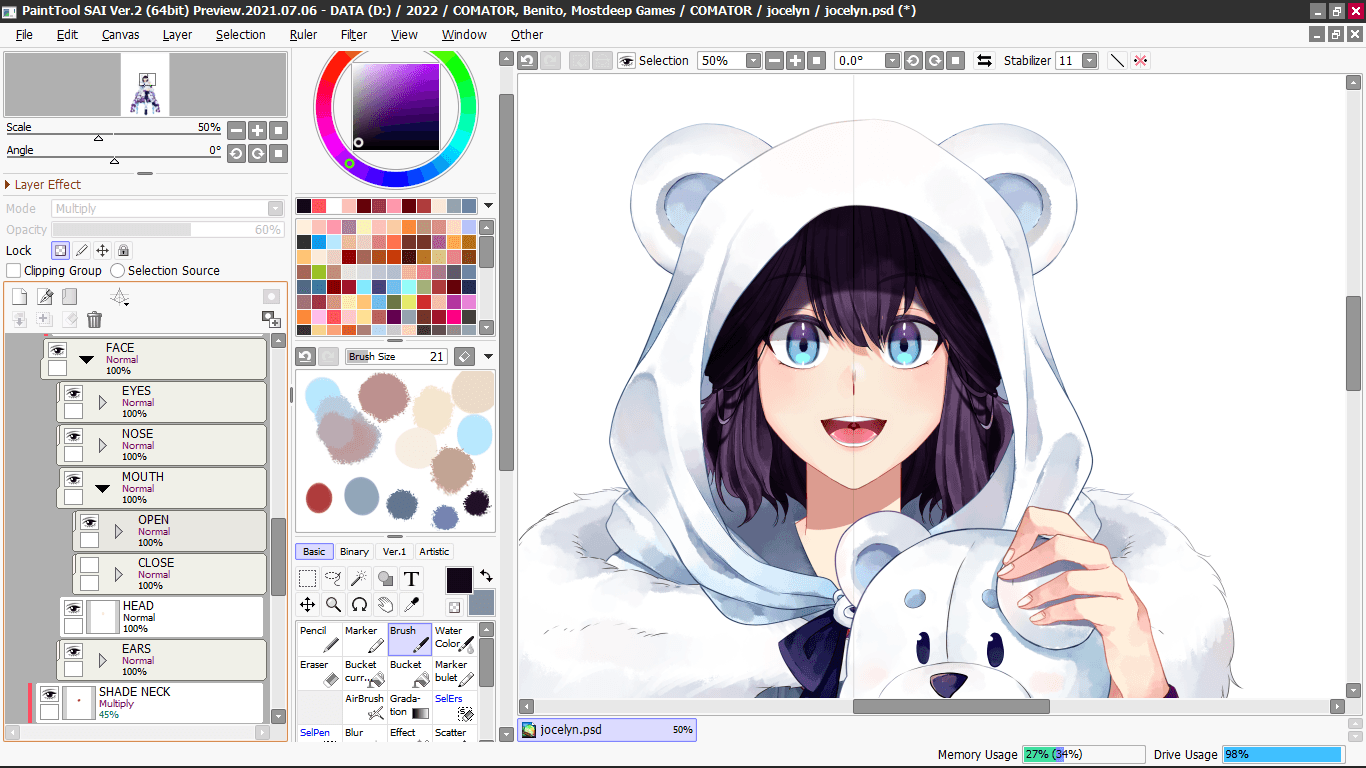
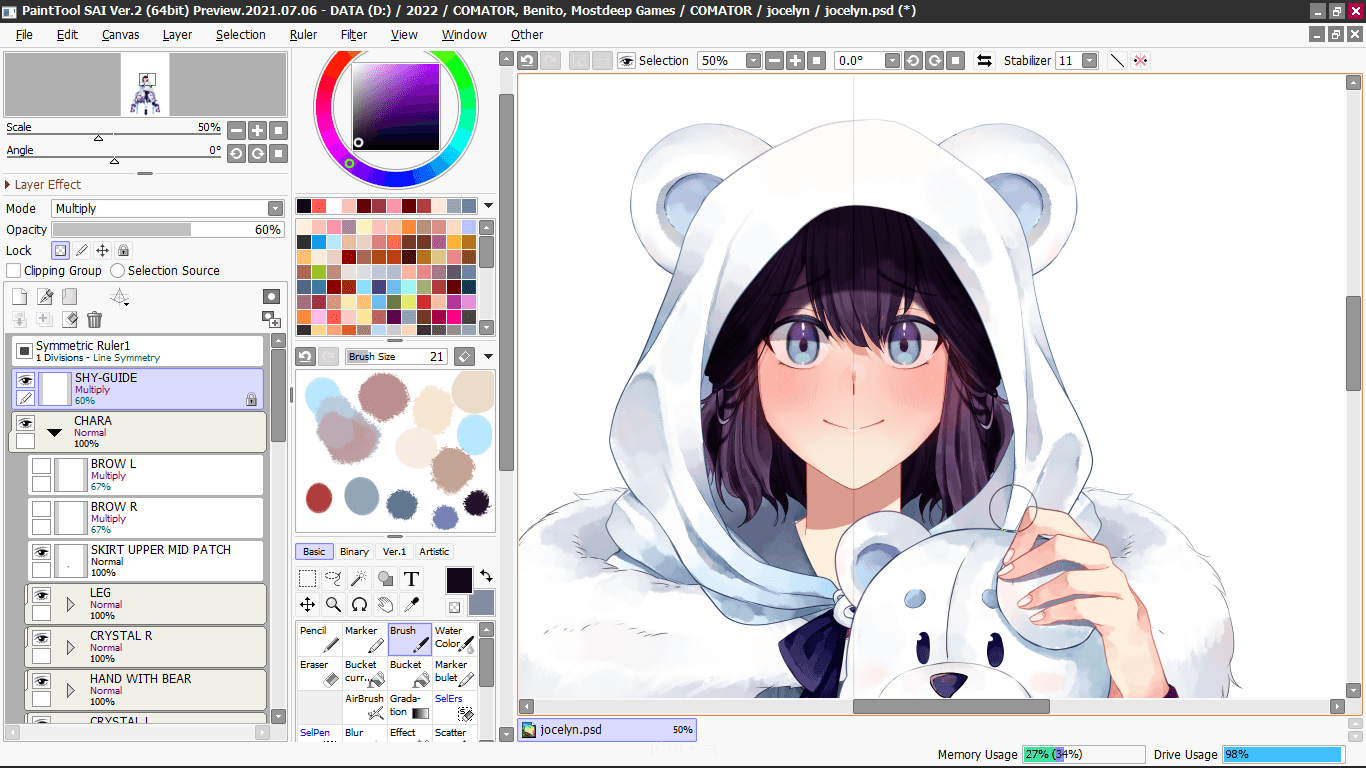
The Character Design step is the same as before, but for the rigging process requires separating layers from each part of the character. Such as the head, body, hands, feet, clothes, accessories, etc
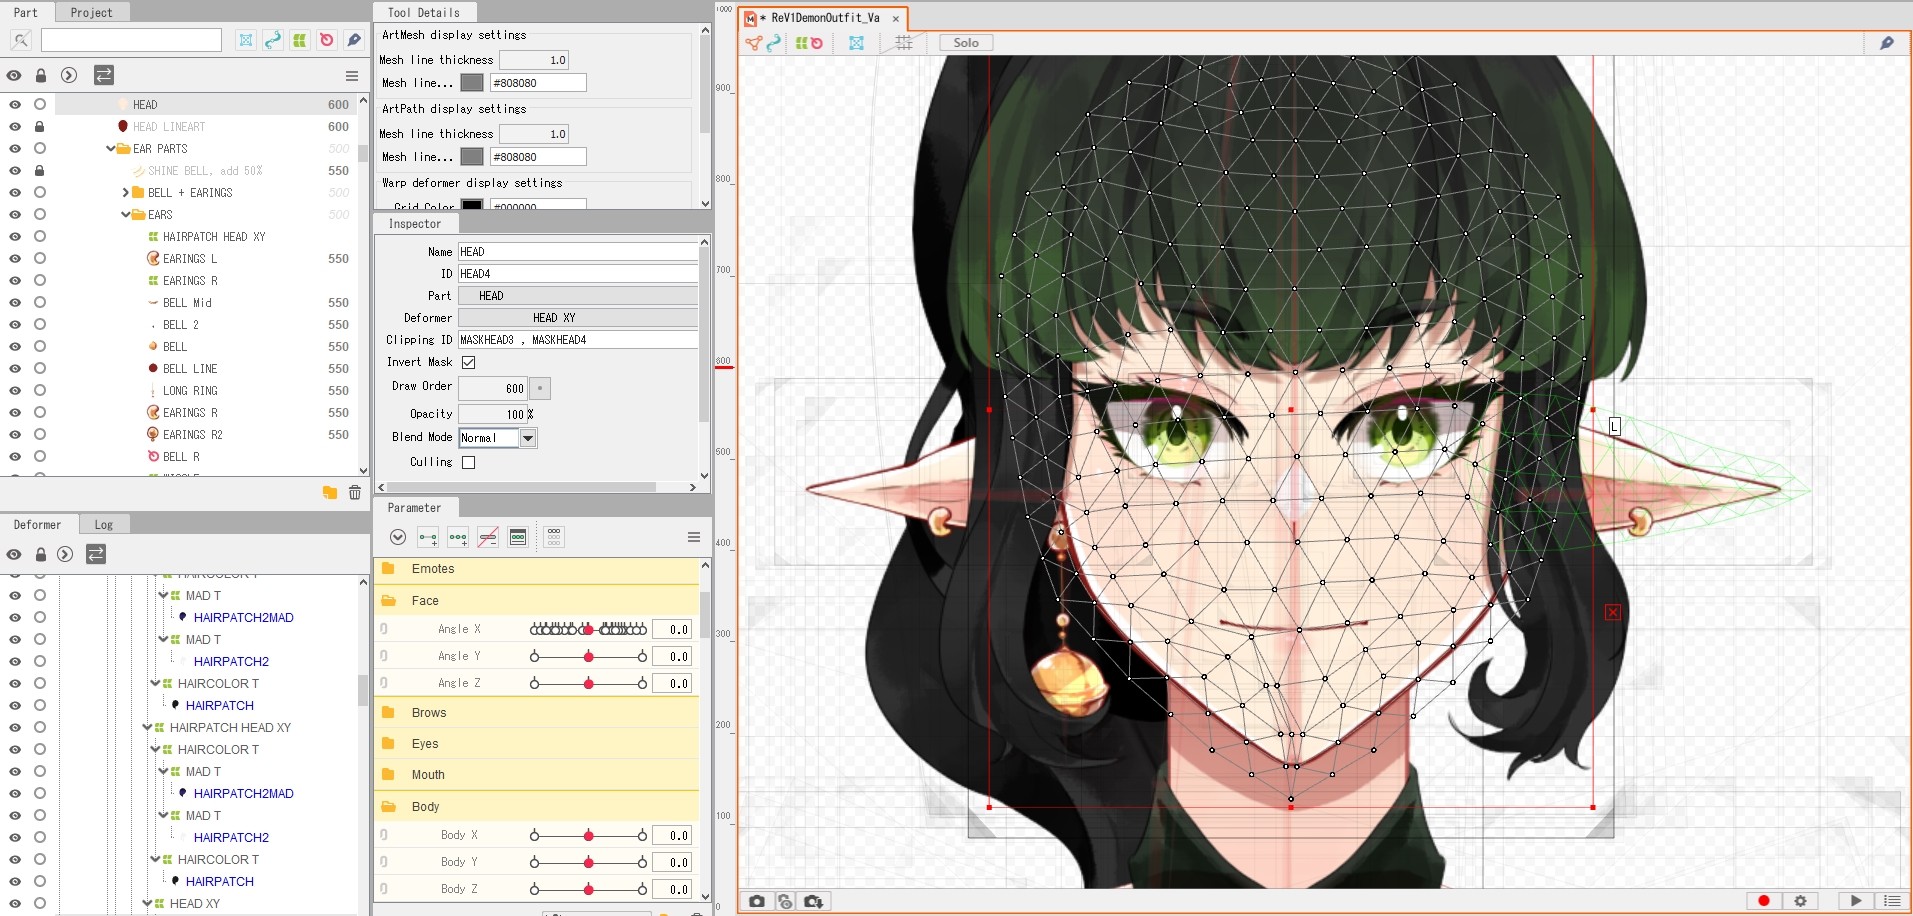
4. Create a Structured Deformer
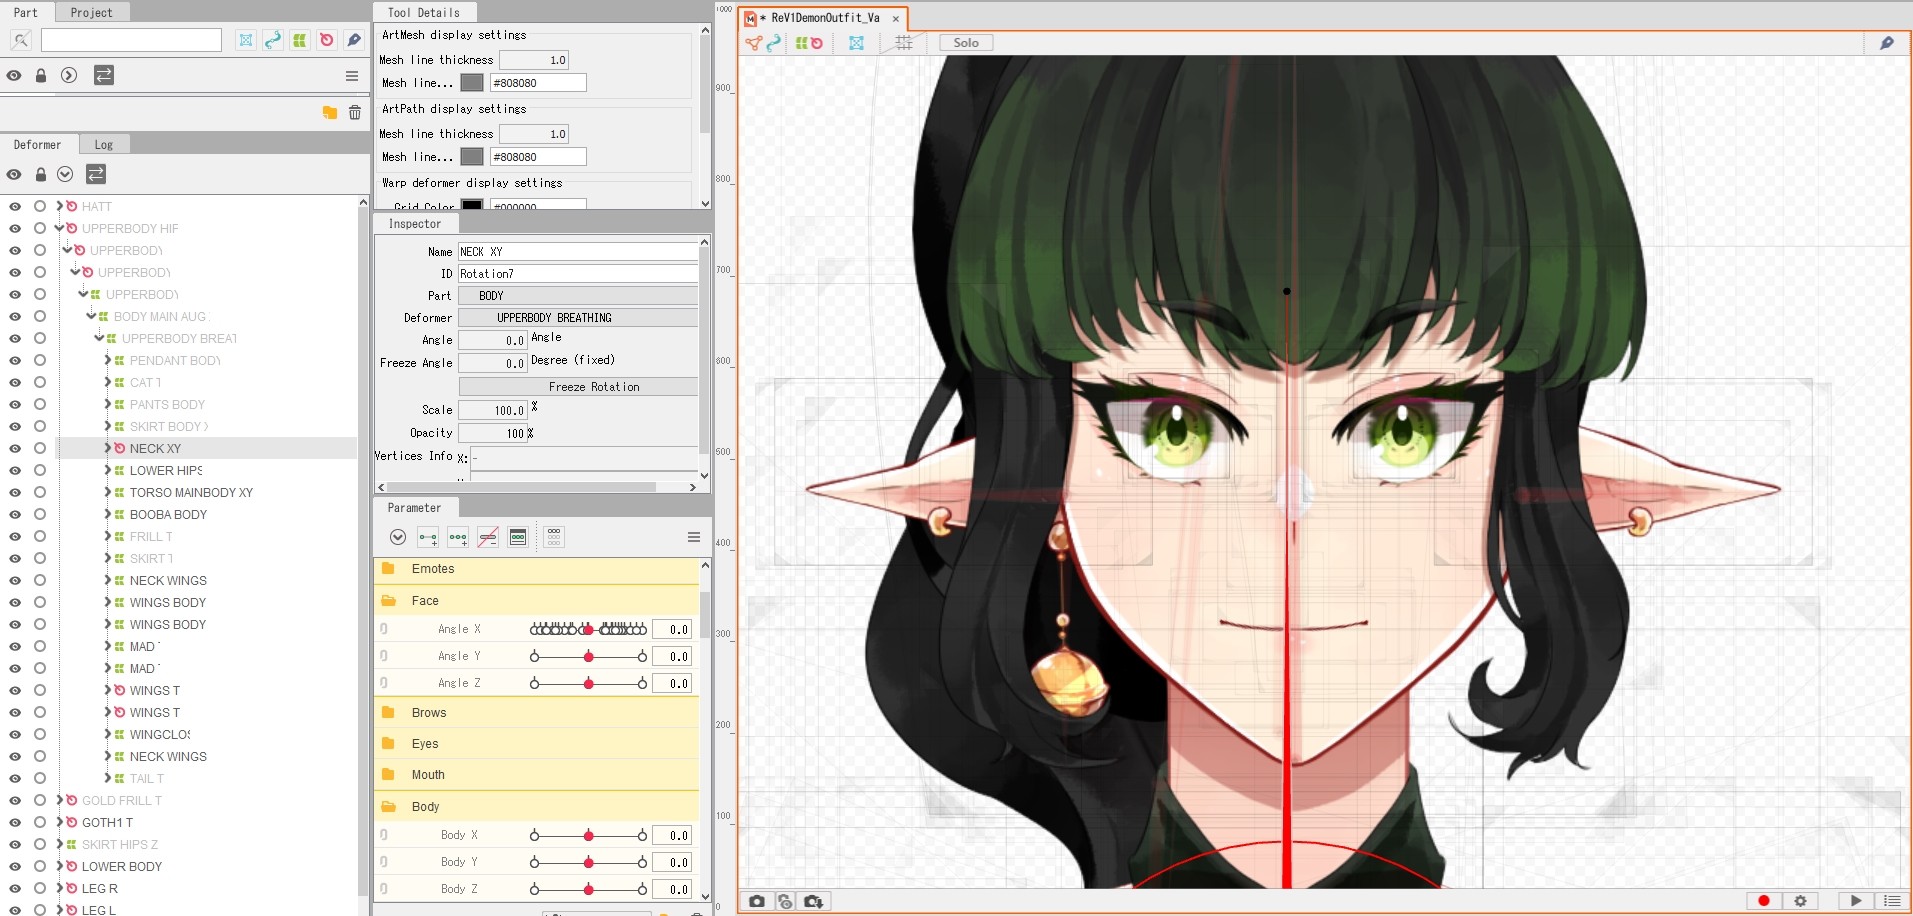
Cubism allows you to deform objects by moving individual mesh vertices to change the direction of a character’s face or to add arm movements. However, It is very time-consuming to manually move the vertices one by one to create the shape. Use deformers to edit vertices together and create shapes with less effort.
5. Create a Specific movement with Parameter
A parameter is a setting that expresses a specific movement. Motion can be expressed by combining each created parameter in the Animation Workspace.
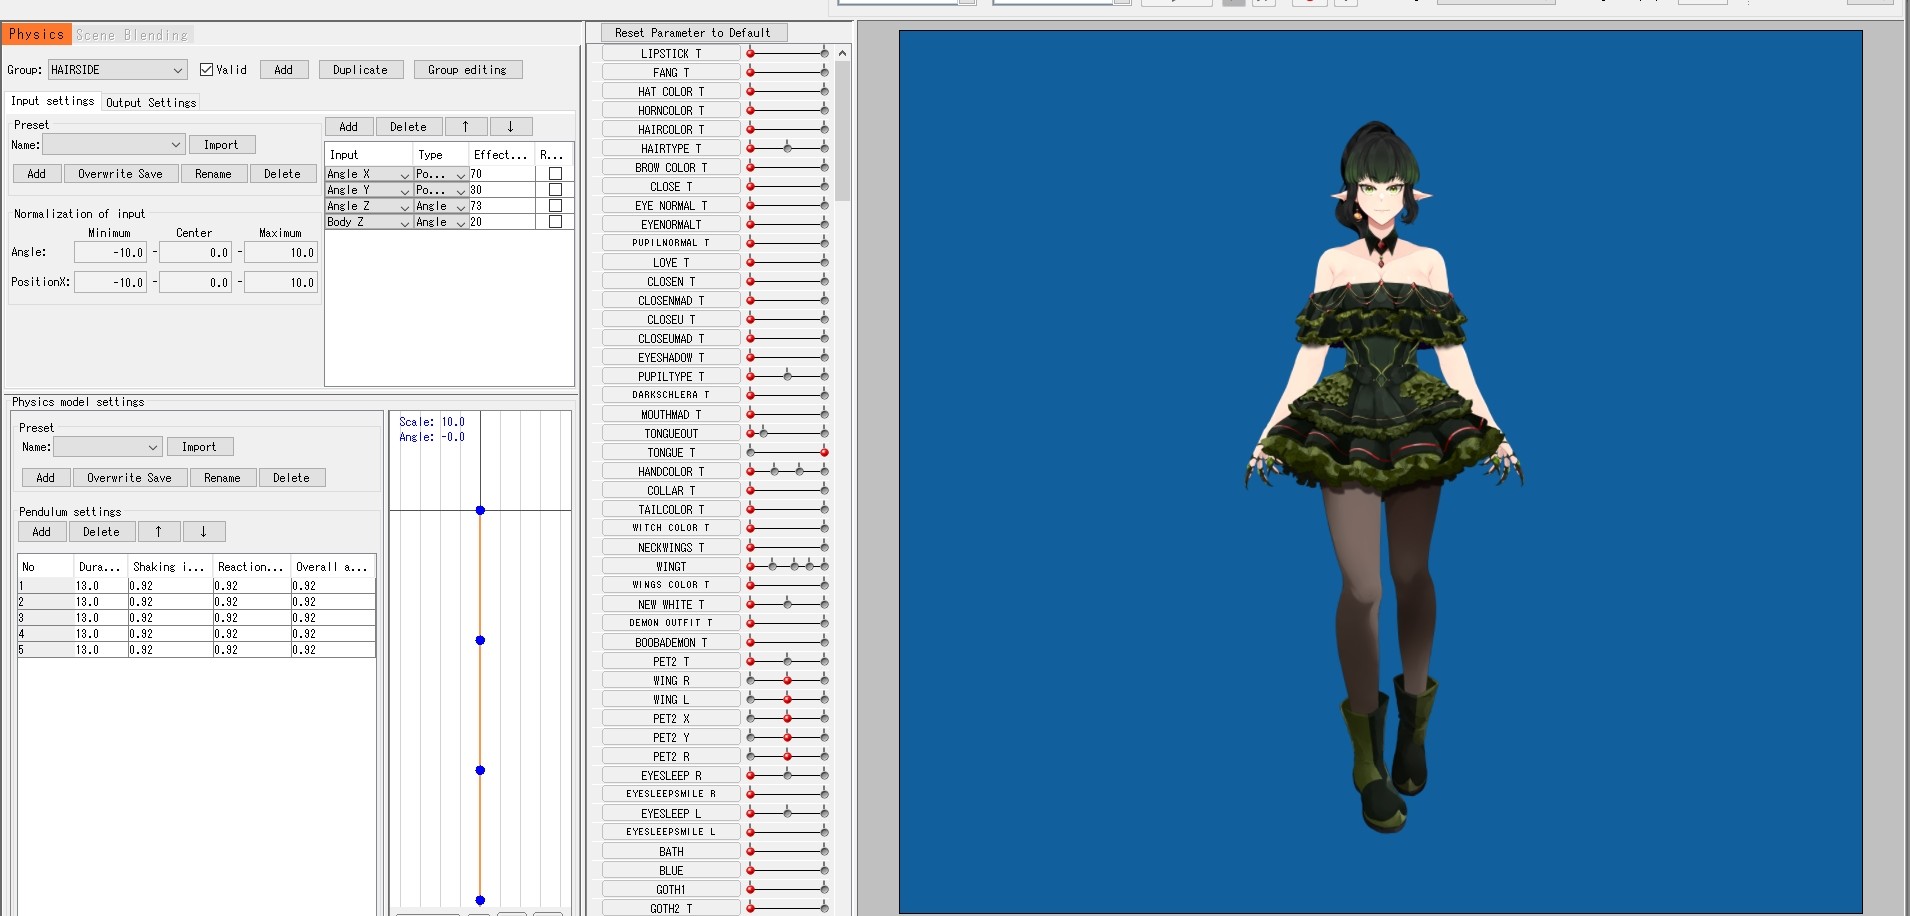
6. Apply Physic to Model
With Cubism, you can set up and export physics operations that will create hair swinging movements in real time as the face turns around. Outfit movement, tail movement and other.

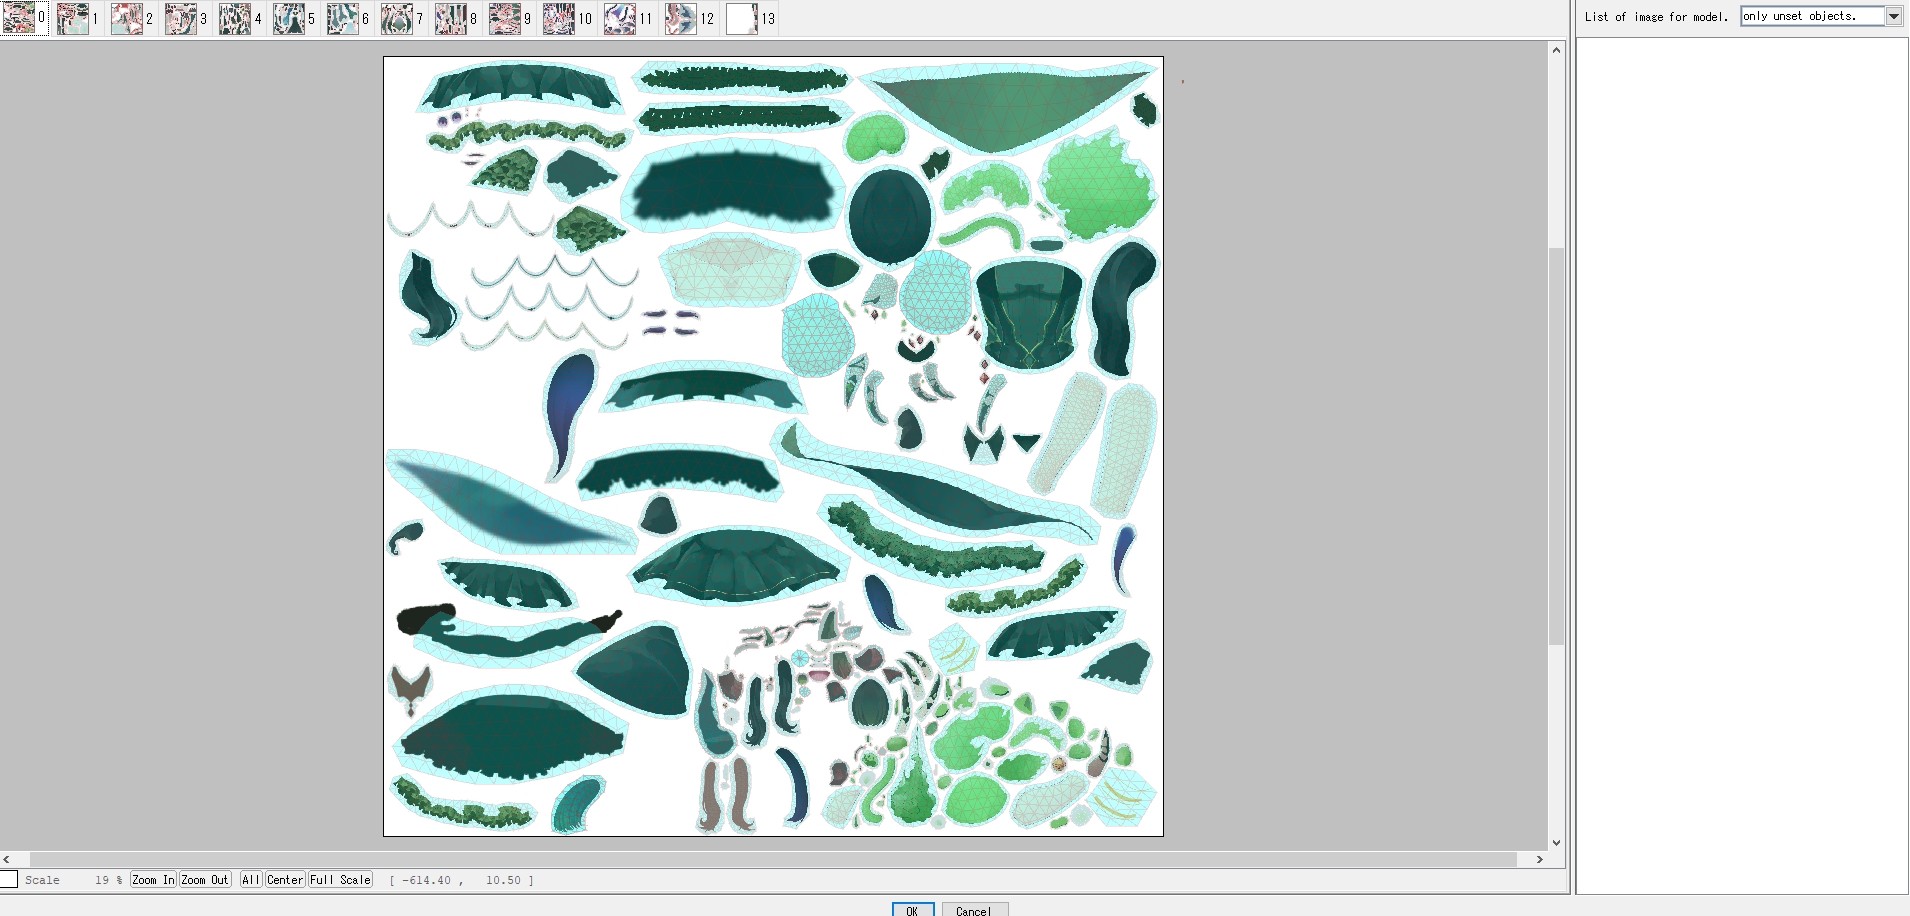
7. Create a Texture Atlas
A texture atlas is an image of the parts that make up a character, etc., arranged on a plane. The width and height of each texture size can be changed, but depending on the SDK platform and environment at the time of embedding, there may be cases where only squares are supported
8. Export for VTube Studio
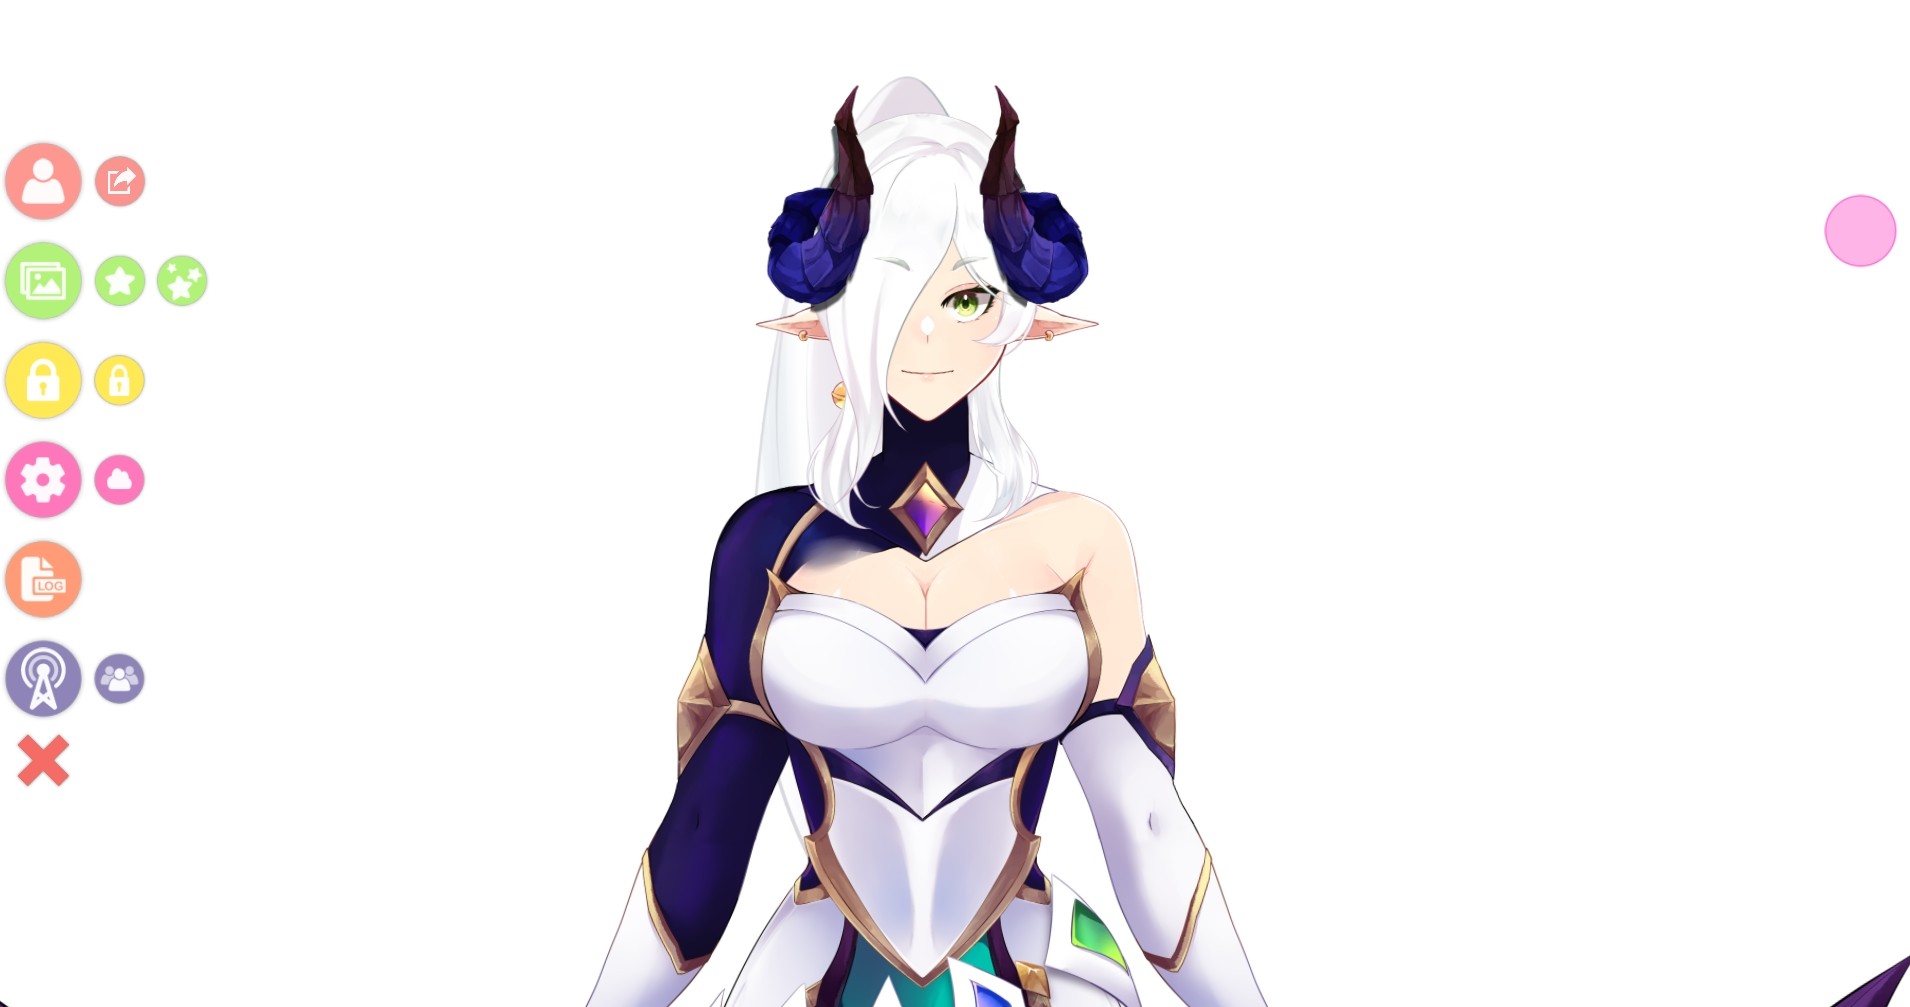
After all the rigging processes have been carried out, the model will be exported in moc3 form. This file can be used in VTube Studio Software for live streaming purposes
*The above testimonials are valid and sourced from : www.fiverr.com/comator/make-live2d-showcase-comission
SERVICES
